Showing posts with label gifts. Show all posts

Tuesday, December 16, 2008

Heirloom Photo Pillow

I'm currently working on an heirloom photo pillow. It is decidedly Victorian in flavor in soft shades of gold and ivory. A lace-framed tulle pocket provides a spot to tuck in a favorite photo, wedding invitation or vintage postcard. It's completed except for the stuffing and embellishment, some hand-beading, a few pearls, silk flowers, tassels, etc. It's a Christmas present for someone who will remain unnamed lest she read my blog before December 25th. I'll post a pic as soon as I get the handwork done and a decent photo taken.

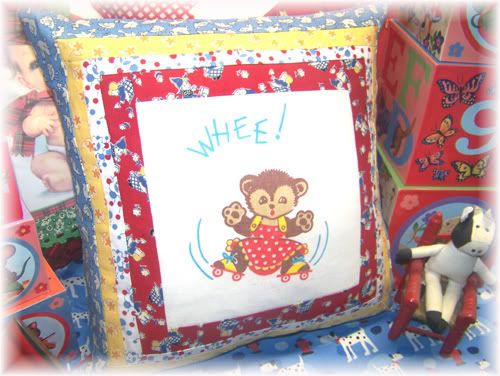
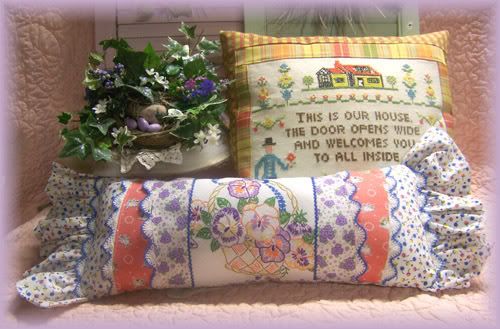
In the meantime, here are some pretty pillows found online.


And some past pillows of my own...


Charity

Saturday, December 13, 2008

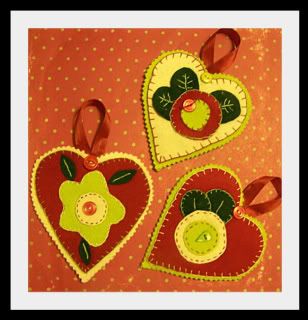
Wool Felt Christmas Ornaments

I made this set of wool felt ornaments while watching the John Adams mini-series. I like to have a little hand-sewing to do while relaxing in the evenings...

Photobucket

Christmas Gift Idea

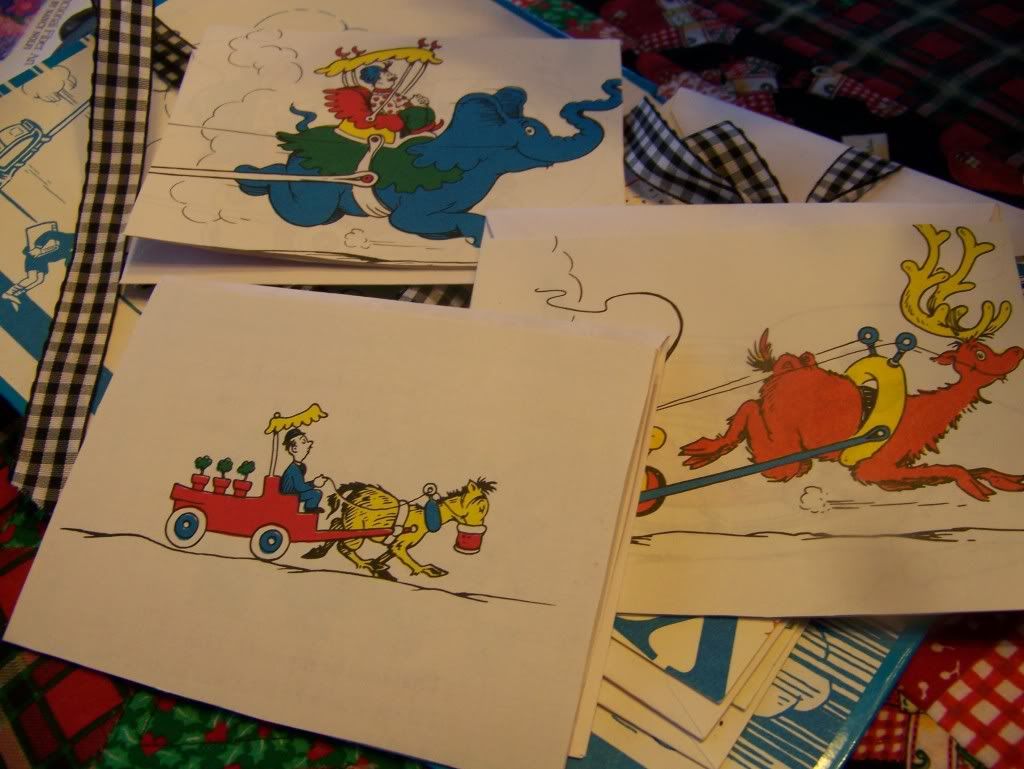
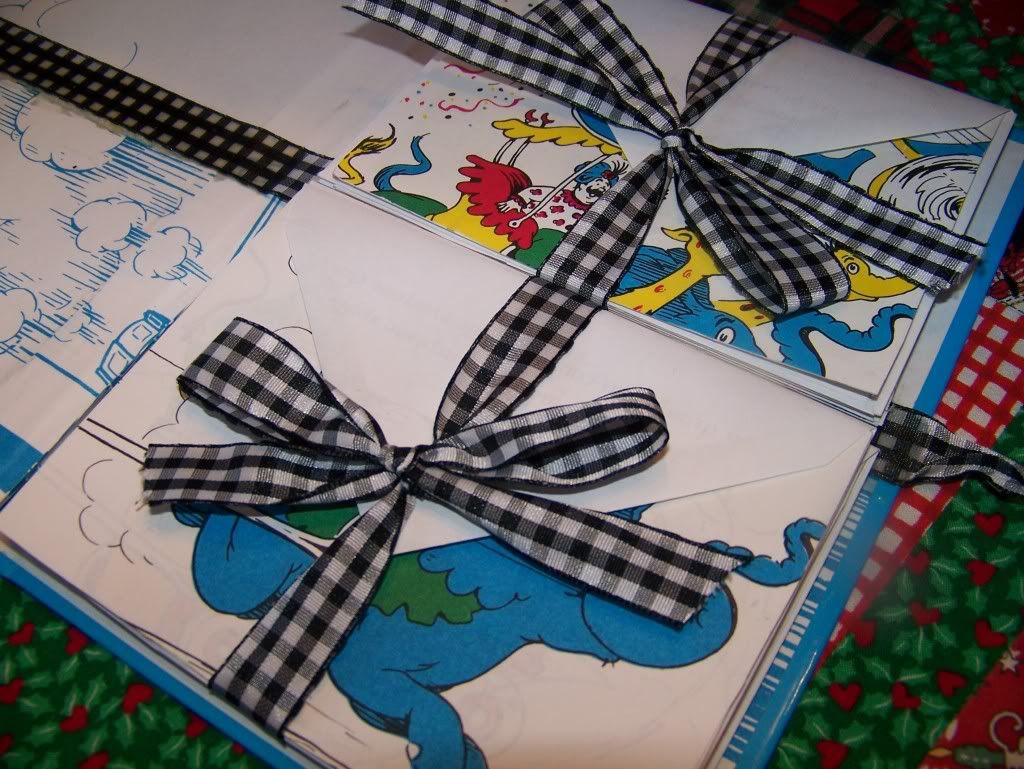
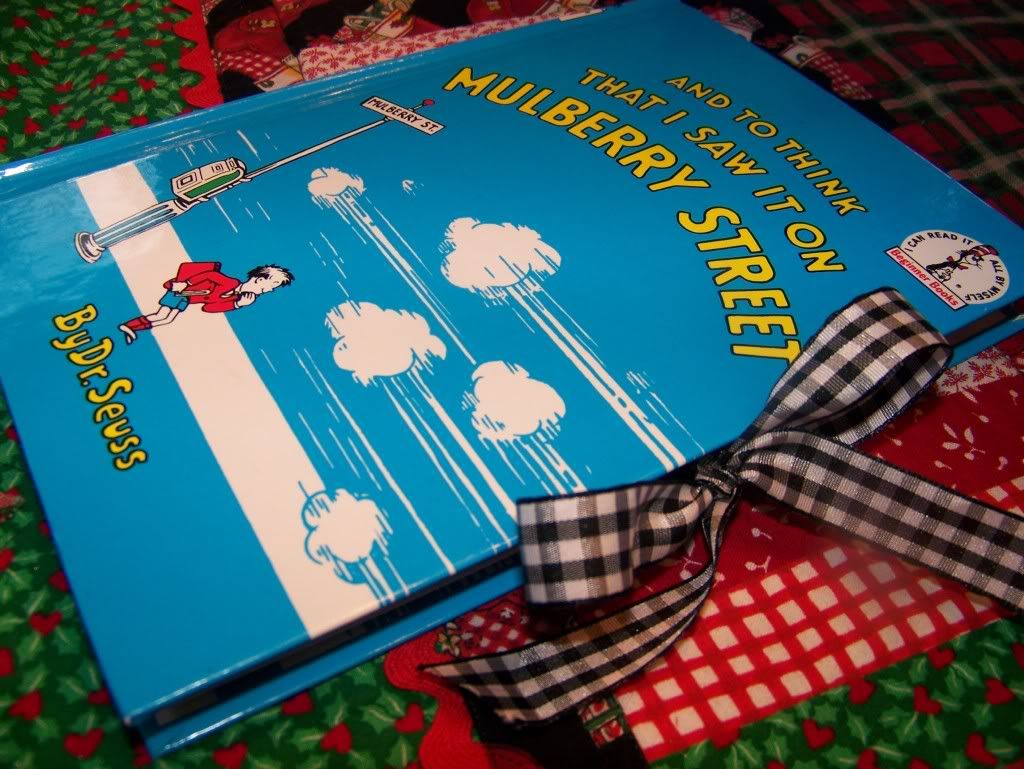
Here's another Christmas gift idea. I made a little notecard set from a vintage Dr. Seuss book. I simply used spray craft glue to adhere the illustrations to the front of a blank notecard. I bought a a set of 8 notecards at a local thrift store, new in shrink wrap for next to nothing. I lined the envelopes as well. But the fun part is the little folder. To make it, I simply ripped the entire inside pages out of a hardcover vintage Dr. Seuss book. I then covered the bare spot where the pages had been with a strip of paper cut from the end papers so it would match the inside of the cover. Then I glued a strip of ribbon across the middle of the book leaving long ends loose at the edges in order to tie the folder closed. I packaged the cards in sets of four and tied them with matching ribbon. A fun presentation for a vintage children's book lover!

Photobucket

Photobucket

Photobucket


Charity

Friday, December 12, 2008

Christmas Gifts for Seamstresses

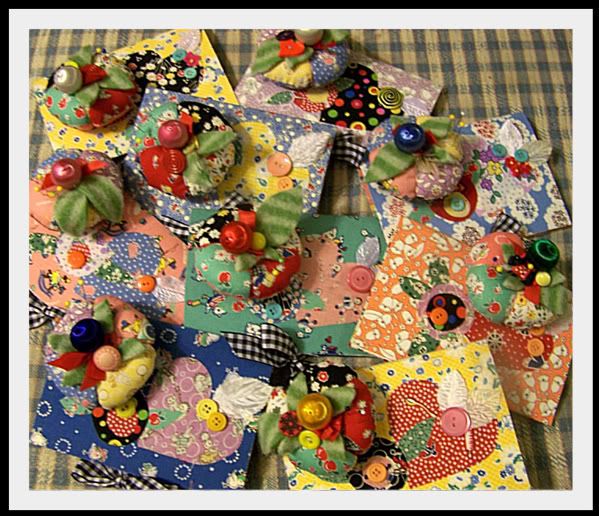
I just finished this little stash of gifts for some fellow seamstresses. The tutorial for the needlebooks can be found in the tutorial list in the sidebar. The tutorial for the pincushions are readily available online. Here is the link I used. I did a 4 patchwork circle rather than 6 simple because of time constraints. Great fun and fairly quick to complete.

Photobucket

Charity

Sunday, September 28, 2008

On My Cutting Table - Vintage Toddler Pattern

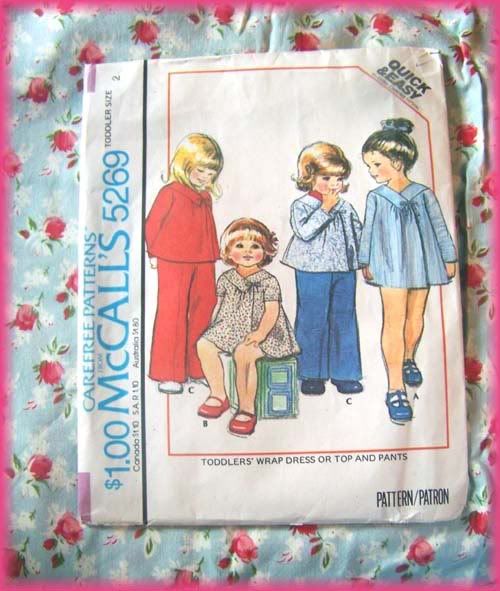
Today I cut out this vintage toddler's pattern. Isn't that one of the sweetest little wrap dresses ever? I'm going to make it in the rosebud print below. I may insert a tiny picot lace into the yoke seam. Or a baby rickrack. Or tiny pink piping. Still playing around with ideas. This is for my eldest niece's baby girl, Serenity. Isn't that a lovely name? My niece, Noelani, is learning to sew so I will leave it unhemmed for her to put the hem where she desires. The pattern envelope shows an awfully short hem placement and I'm not sure that Noelani will want it that short for her wee one. We'll let Mom decide. I'm not sure when I'll get this one started. I have to finish up the Harvest Dress. Then I have a shirt halfway completed for myself as well as a two piece sweater dress. I need to wrap those up and then perhaps I can get started on this one. It's a size two and won't fit Serenity till Spring anyway. The fabric's a bit light for a Washington winter.


Charity

Woman's Perogative To Change Her Mind

I've changed my mind on the petticoat for this jumper. One of the problems last time I made this dress was the weight of the skirt relative to the structure of the bodice. The petticoat and very full appliqued skirt really put a strain on the straps of the jumper.

Since I was going to make a peasant blouse for the jumper anyway, it dawned on me that I should make a peasant dress with full tiered skirt to serve as the petticoat and blouse all in one. This will be so much more comfortable than a very heavy skirt with its weight born only by thin straps (rather than a shouldered bodice). And the dress could be worn alone or with another jumper as well. It also will solve the problem I had last time with two very full skirts layered into the bodice seam join.

So...first thing tomm. morning I will join the skirt to the bodice and then cut out the underdress. I'm too tired to do anything more tonight and likely to make dumb mistakes. I will work on the beading and button embellishment while watching tonight's DVD. I think I'm in the mood for James Bond! Off to check the DVD shelves.

Charity

PS - Forgot to say what fabric I picked for the underdress. It's a country primitives print. Small mustard stars on black. Perfect to continue the country, primitive look of the dress.

Harvest Dress, The Sequel...almost done

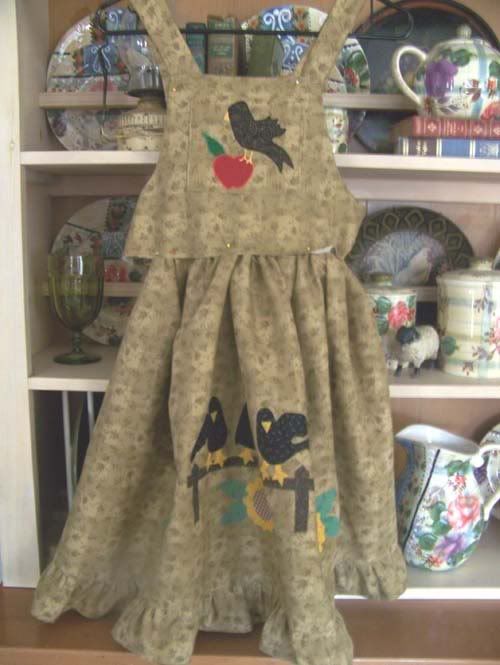
I've finished the bodice and the skirt on this Harvest Dress, The Sequel. I've pinned it together in this pic, just to get an idea of proportion. I think I'll shorten the bodice a touch. All I have left to do is make the attached petticoat/crinoline that gives the skirt its body and then attach the bodice to the skirt. Then it's simply a matter of buttons and buttonholes and it's ready to hand on to Karess. Well...gotta get the review and contest entry filled out and THEN it can go to Karess.

Oh! Forgot! I also have to do some buttons and beading accents on the skirts appliques still.


Charity

Thursday, September 25, 2008

And Blanket/Nursing Cover Is Finished

The flannel patchwork with fleece backing blanket/nursing cover is finished. It's in the same flannel fruit and flower fabrics as the burp cloths. This is for a little girl baby, the first child of Casey's Bible and Literature teacher. I will be subbing for her six week maternity leave. The baby is due any day now, so if I suddenly disappear it's because I'm teaching.

Which is all the more reason I have to get all my projects caught up NOW!

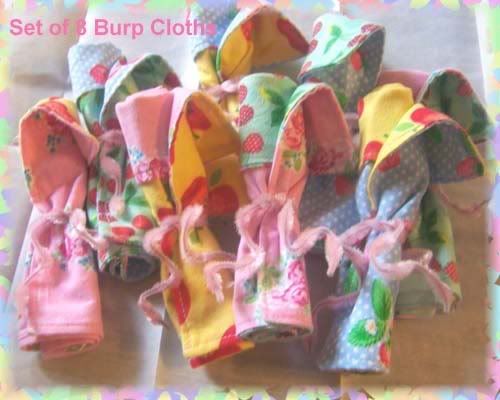
Burp Cloths Finished

Eight burp cloths down. One nursing cover and a ruffle attachment to go!!!!


Charity

Sewing Up A Storm

I am sewing up a storm here...

I have 8 baby burp cloths and a nursing cover in progress. The baby shower is 3:30 pm today and it's 8:37am here in Alaska. So do the math. Yep! I need to haul.

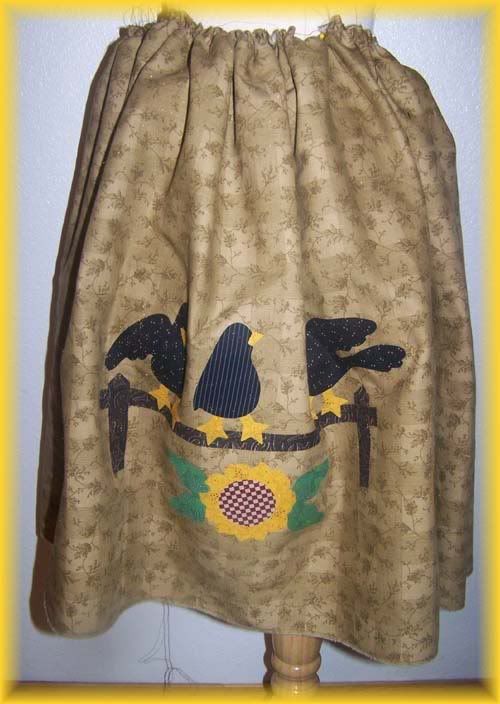
And when that is done and I have time left over (Keeping my fingers crossed that this power of positive thinking stuff works...) I will attach the ruffle to my "Harvest Dress, The Sequel" project mentioned below. I finished the applique fusing on the skirt and got the top edge gathered. I will do the button-stitch edging and the hand-beading while attending the soccer tournament this weekend. Then hopefully get the petticoat and bodice assembled on Sunday. That leaves Monday for putting the skirt, petticoat and bodice together and whipping out a quick peasant blouse. So...if all works out as planned (Gee, that would be a first), I should be able to complete this outfit and get it entered in the PR Contest before the Tuesday deadline.

Here's a pic of the fused skirt appliques. Please excuse the very ugly indoor lighting photo. No time to set up a shoot outside!


Will report in this evening as to whether or not I achieved today's goals.

Charity

Wednesday, September 10, 2008

Daisy Kingdom Coat Progress

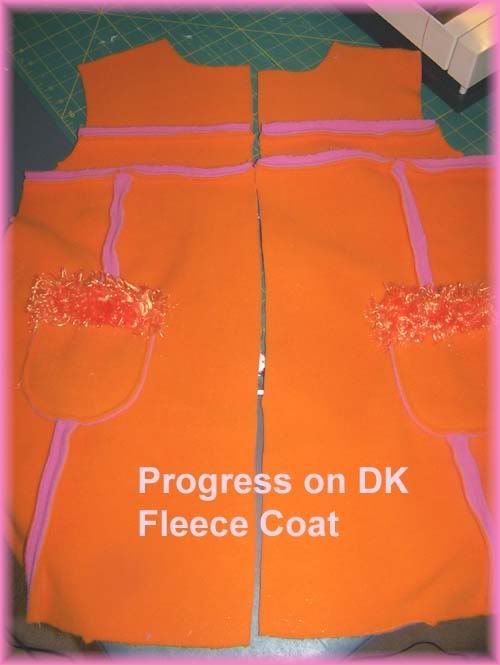
I'm almost done assembling the coat front. I need to do an invisible whipstitch securing the fur trim on the pockets. Then up next is assembling the coat back and shoulder seams.

I've never done a fleece garment with exposed seams. It does make for quicker construction. And with the double-sided fleece, the exposed color is really cute looking. However, every tiny scissor wiggle when cutting out is there for all to see. I've gone over the seam edges and carefully tried to shave them down perfectly straight, but it's a lot trickier than I thought to get those exposed raw edges looking sharp.


Charity

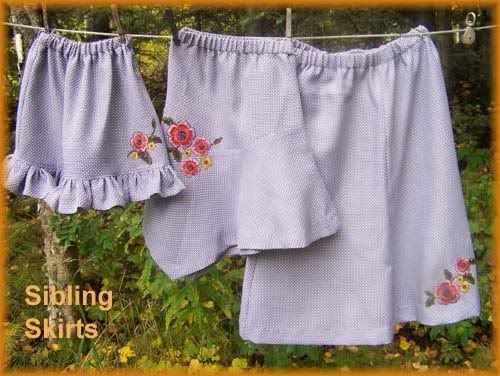
Sister Skirts Completed

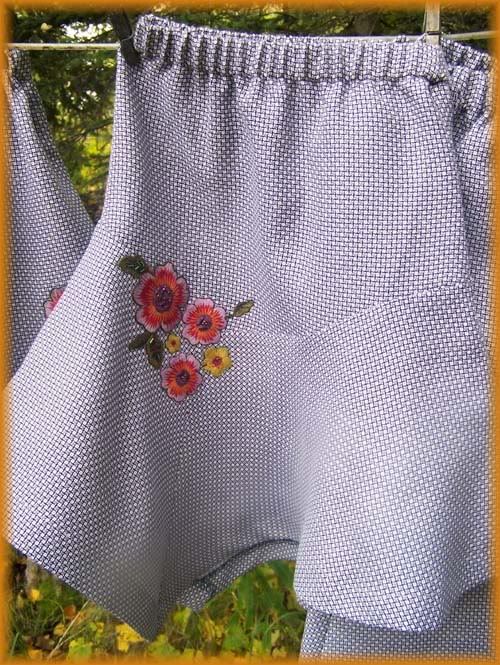
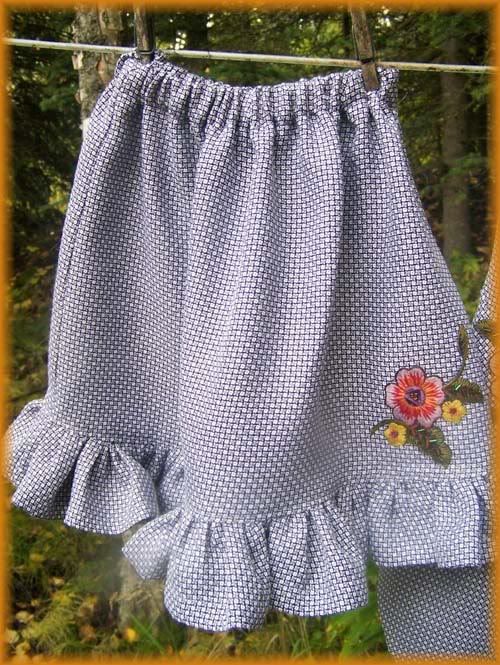
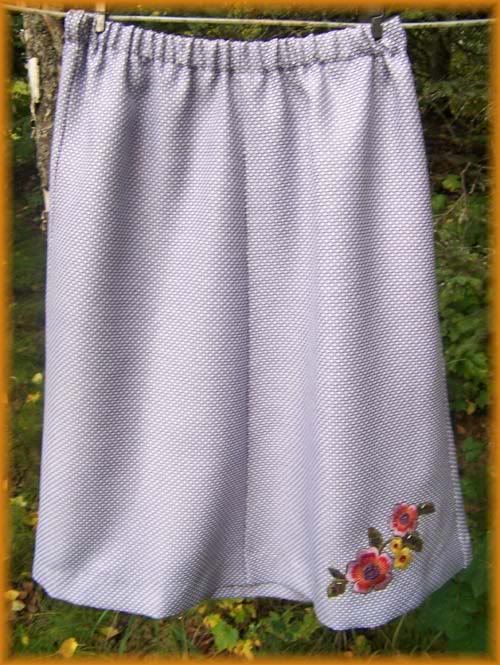
I finished the Sister Skirts and am on to the Orange and Pink Daisy Kingdom Coat. I left the elastic ends unattached on each skirt so that they could be adjusted to their wearer upon arrival. This is why they hang a little funny in the photos.


Size 8 Skirt


Teen Skirt (see in post below)

Size 5 Skirt

Monday, September 01, 2008

Three Sister Skirts

I know I'm supposed to be starting on the Daisy Kingdom Coat today, but I forgot that I wanted to send three matching sister skirts along with the baby blanket below. I didn't want the siblings feeling left out! So I'm whipping up a size 5, 8 and a woman's size for the teen sister from this purple tweedish suiting fabric I had in my stash. The teen's skirt is below. The size 8 is almost done and the size 5, not yet started. Our eldest is coming out to spend the night so I'm not sure I'll get them done by tomm. I rarely get to see our college student these days. The rest of these skirts probably won't get done till Weds. pushing back gift mailing till Thursday, Which means the DK coat will have to wait till Thurs night!

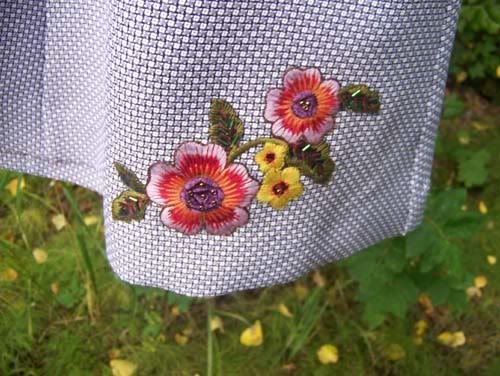
Here's the teen skirt. I'll post the other two when I get them done. Each style is different, but all are made from the same fabric and will have the same beaded applique detailing. I will cut the applique into smaller floral elements for the younger girls' skirts so the detailing will be proportional.

I have used this pattern, Burda 3152, about four times now. It's a really great quick and easy, tried and true type pattern. Great for wardrobe basics. You can read my PR review here.


Charity

Sunday, August 31, 2008

Finished!

Finished the quilt and am on to the last of the burp cloths. I'll be able to get this mailed off on Tuesday! Next up after that is the Daisy Kingdom coat.


Charity

Baby Quilt Stippling

I'm still slugging away at this funky-style baby quilt. I'm doing the stippling, but having some problem with skipping/too large stitches. Perhaps it's because I'm using a fleece backing instead of a traditional batting and cotton backing. I want some warmth to this as it will be for a winter baby and is headed to a northern state. This isn't going to be one of my better machine quilting jobs. Oh well...it's still adequate, just not as small of stitches as I normally like to see on a "working" quilt.

After I finish up the stippling, I have just the binding left to do. I've already got the binding made so that part should go fairly quickly. I hope to be done in another 3 hours or so.

Saturday, August 30, 2008

Baby Gift In Progress

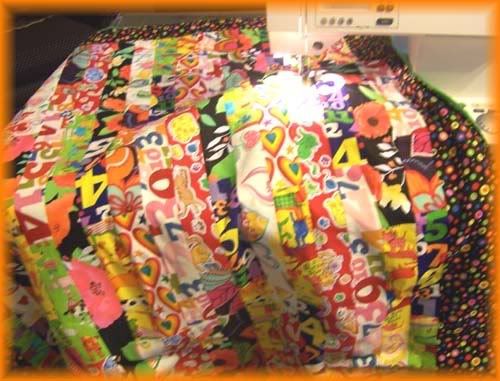
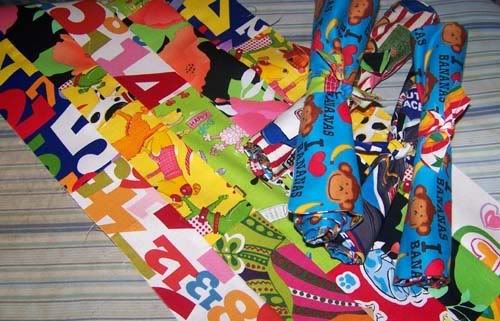
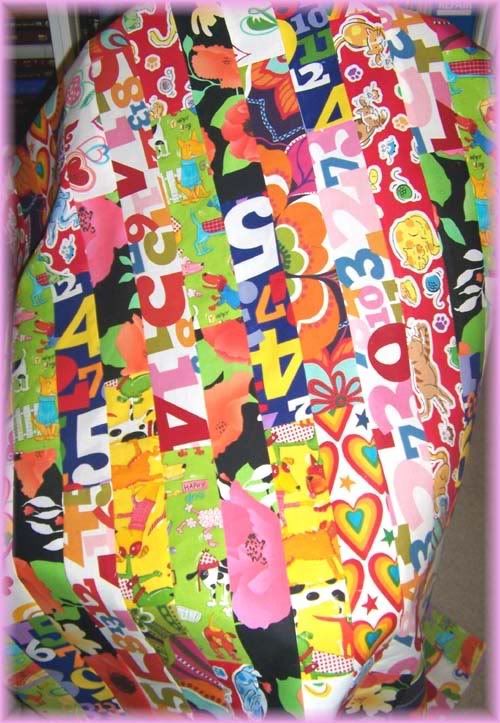
I've been working on some baby gifts this weekend. I don't know if it's going to be a girl or a boy so I'm making four boy-themed burp cloths and four girl-themed burp cloths. And in addition I'm making a quilt from loud, large scale, funky prints in irregular strips. Something very quick and easy. I hope to have it all done and wrapped tonight!

Here's an in progress pic. These are the boy burp cloths and about 1/5 of the quilt. I'll post a better pic when the quilt and cloths are done. Excuse my mega-ratty ironing board cover. I really need to avail myself of this tutorial and make a new one!


Here's the quilt top. I need to go pick up some fleece to back it with tomm. and then will be binding it with a red and white striped binding. Will post a pic when done.


Charity

Friday, August 29, 2008

Alphabet Adventures..."Z is for Zippered Pouches"

I'm only about a month late finishing up my Alphabet Adventures. Sorry about that! If you want to see the rest of this post series, click on "Alphabet Adventures" in the Labels section of the sidebar.

So...last one. Today is brought to you by the Letter Z and Zippered Pouches. These are handy little gadgets for all kinds of things. Make-up. Ipods. Tissues. For packaging a little gift. And they're simple to make. And to save you the effort of figuring it out on your own, here is a photo tutorial.

Zippered Pouches Tutorial


Step One - Cut two squares of fabric. I don't worry too much about size at this point. I like to trim to my exact desired size AFTER the zipper installation. Pick a zipper. It's fun to do a contrasting color or if you're the matchy-matchy type, go for that!


Step Two - Use a zipper foot if needed. My machine has an option where I can move the needle far enough to one side to eliminate the need for a zipper foot on sufficiently dainty zippers. So my photos won't show a zipper foot. Do what's needed for your own machine. Fold back one edge of of one of the fabric swatches. Unzip the zipper. Align the zipper to the folded edge leaving a little of the zipper tape to show for a touch of color! Align the raw edge of the top of the zipper tape to the raw upper edge of the fabric swatch. Topstitch zipper in place.


Step Three - Repeat with the other side of the zipper tape and the other swatch being sure to align the top of the zipper tape to the swatch's raw upper edge.


Step Four - Shut zipper. Stitch across the bottom of the zipper about a half inch from the bottom edge of the fabric swatch to create a new zipper top. Backstitch a couple of times to secure. Trim excess zipper.


Step Five - Trim front of pouch to desired size. Allow for 1/4 inch seam allowances.


Step Six - Cut a fabric swatch for the back using the front as a pattern.


Step Seven - Unzip the zipper slightly. Place front and back right sides together and stitch all the way around using a 1/4 inch seam allowance. Trim corners.


Step Eight - Turn pouch through zipper opening. Shut zipper. Press pouch. If using a nylon zipper be careful not to melt zipper with iron. Embellish as desired.


Wednesday, August 27, 2008

Pink and Orange Girl's Coat

I'm starting this project on Monday, Simplicity's discontinued Daisy Kingdom coat pattern #4515. It will be a Christmas gift for my 7 yo niece, Winter. I have had the fabric, pattern and notions for this coat for sometime. I decided to enter it in Pattern Review's Sewing for Children contest. It should be fairly quick as it's made from double-sided fleece in pink and orange. The coat is sewn wrong sides together with exposed seam allowances. So no need for lining or finishing. I'm slightly short of fabric, so I might have to get tricky with the layout. I think this will be a fun project. I'm really looking forward to it. I don't think I'll have remnants, but if I do, I'll make a little muff to go with.

Friday, July 25, 2008

For The Hard-to-Shop-For Man in Your Life

It's about time...


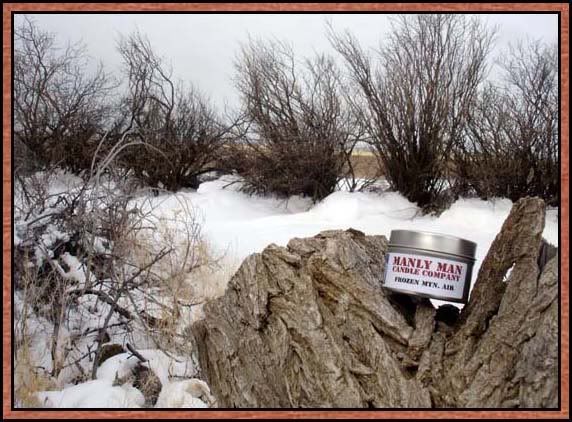
Manly Man Candle Company has solved your Christmas Shopping Dilemma. You can now buy candles for the rugged he-man on your list. Comes in scents such as Grandma's Cooking, Leather, Hunting Lodge and Yardwork. Particularly delightful are the descriptions of each candle. Check out this clip from the product description for the "Clean Laundry" candle...Doing laundry is horrible. First off, it's boring, secondly, it's too hard, and lastly, your clothes just get dirty again in the next couple of days.


I have a few more suggestions for the product line. How about After Rugby, Dirty Socks and Fish On! ?

Charity

Tuesday, July 15, 2008

Alphabet Adventures - "M is for Mod"

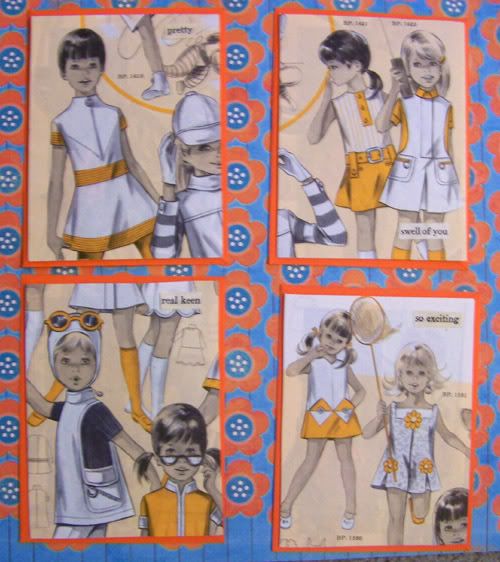
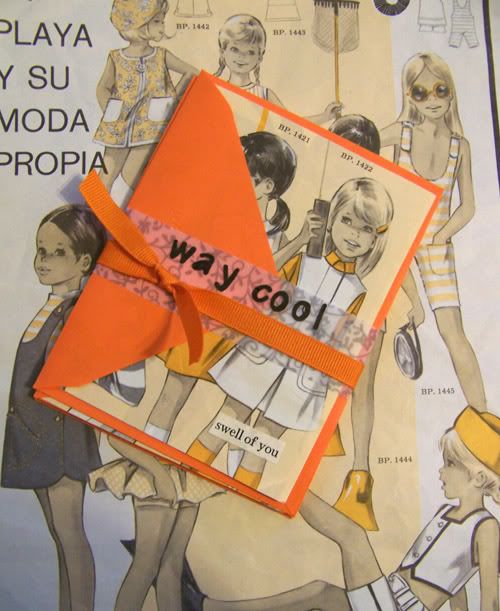
Today's Alphabet Adventure is brought to you by the "Letter M" and the adjective, "Mod." I love the graphics from the 60s and 70s. So retro. When I found this Patron magazine from the late 60s, I thought it would make the cutest notecards. So I whipped them out tonight while watching Season 2 of The Office with DH. It's a set of four and I packaged them with a little sash made from vellum paper and grosgrain ribbon.


See ya later, hep cats!

Charity