Showing posts with label mother's day. Show all posts

Thursday, May 08, 2008

Mother's Day Gifts You Can Make - Idea Ten


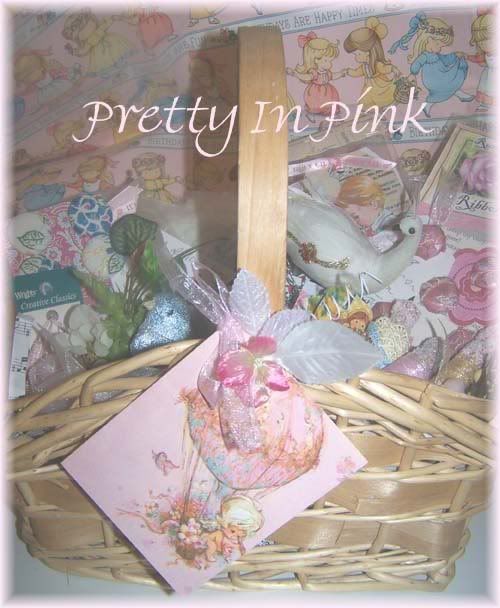
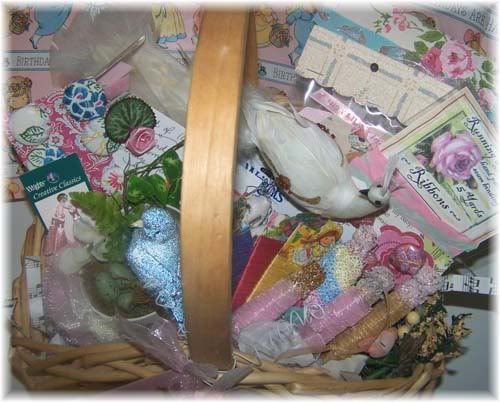
Today's suggestion for my Mother's Day Gift idea series is an old one...creating themed gift baskets. I love putting together pretty baskets of fun little odds and ends. Such fun to explore and discover each little goodie. The one below is a crafter/seamstress's basket. Lots of fun pretties. There are...(I apologize for the poor photos. I took this at night and there was no natural lighting available).

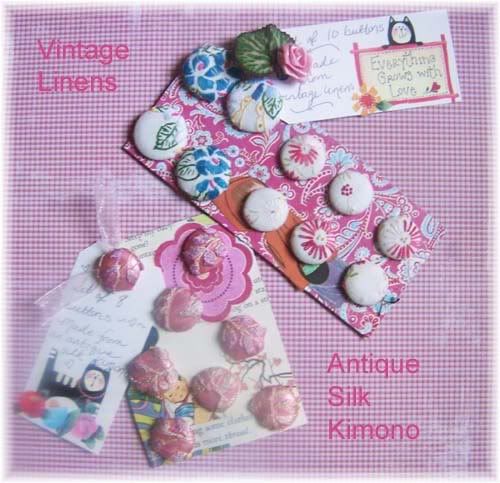
Handmade buttons covered with vintage linens and fragments of an antique silk kimono. Strung onto a hand-crafted card with a cute kitty tag.


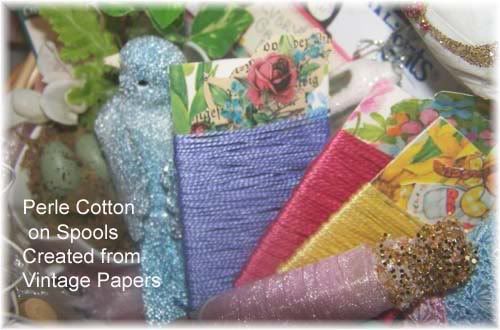
Perle cotton for hand-embroidery, strung onto hand-crafted cardboard spools made from pre-cut tags, vintage gift wrap, vintage greeting card cut-outs and then strung onto wire.


Hand-painted vintage seam binding which I bought from Pink Rose Pastries. She has the most adorable stuff ever!

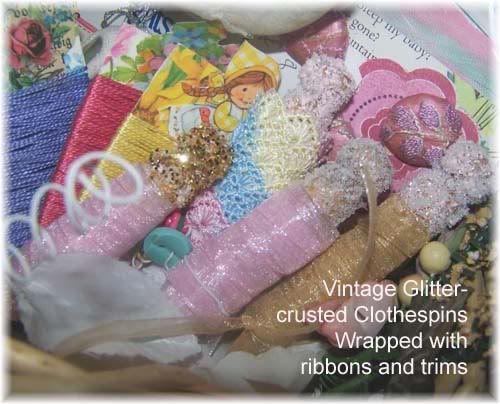
Ribbons and trims wrapped onto glitter-crusted vintage clothespins


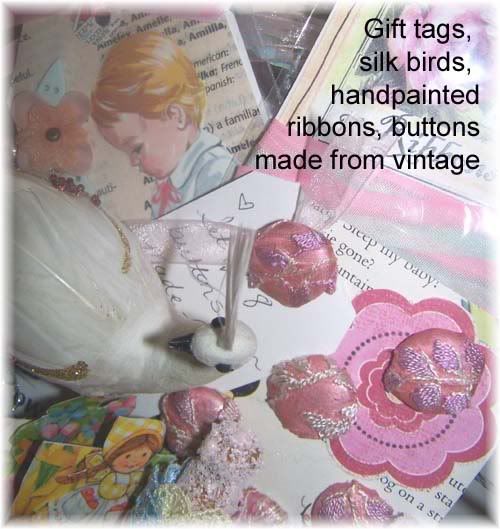
There are also handcrafted gift tags, tiny tassels, vintage laces and trims, a large albino silk peacock (out of this world!) silk flowers, snowflake crochet kits, cards hand-crafted from vintage papers, and pink vintage bump chenille wire. All on a bed of hand-shredded vintage music.


Here are theme ideas for your own basket:

Gardening
Cooking
Massage
Bath
Reading
Crochet
Knitting
Scrapbooking
Card-Making
Candles
Favorite Sport
Music
Picnic
Chocolate
Espresso
Tea
Foreign Foods
Travel

Wednesday, May 07, 2008

Mother's Day Gifts You Can Make - Idea Nine


You know the drill by now. HERE are the previous posts in this series on Mother's Day Gifts You Can Make. This is post #9 and today I'm suggesting making cupcake stands, cake plates, petit four plates or trinket display stands. You pick the moniker! These are quick, easy and inexpensive to make. So if you're running late at this point, you can still get in a handmade gift for Mom.

You'll need: glass/ceramic glue, candlesticks, pottery or glass plate or saucer. Optional: glass dome. I find these items in thrift stores and keep a small stash on hand for when I need to make one quick. They make a nice hostess gift when you fill the plate with goodies. :)

Directions: Simply glue and candlesticks to the saucer or plate using the ceramic glue. That's it! Told ya it was quick and easy. My favorite kind of craft. :)

PHOTOS OF PAST CREATIONS:

The Gilmore Girls Cards

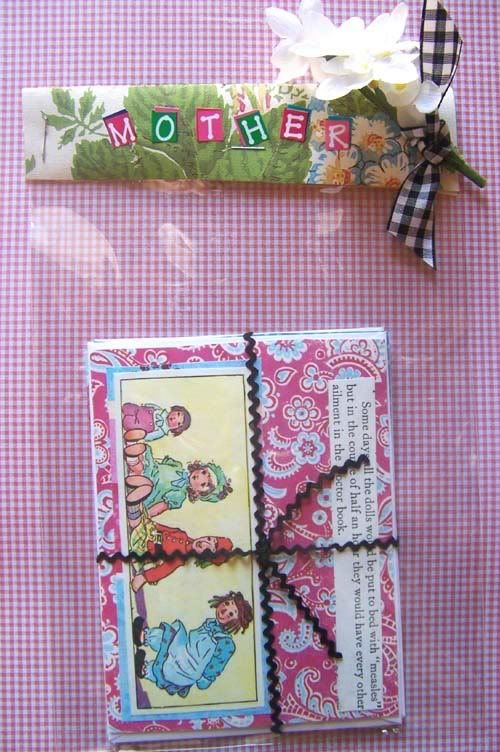
Just a quick show-and-tell. Made these last night. I call them the Gilmore Girls cards because I made them while watching a Season 5 DVD. I felt that was an appropriate choice of viewing material while making Mother's Day gifts. There are four of them, each with different images and text. They're made from a vintage Raggedy Ann book (not one of the really old ones, would never be that cruel...)

Tuesday, May 06, 2008

Mother's Day Gifts You Can Make - Idea Eight

Here are the rest of the posts for those of you who just came in...

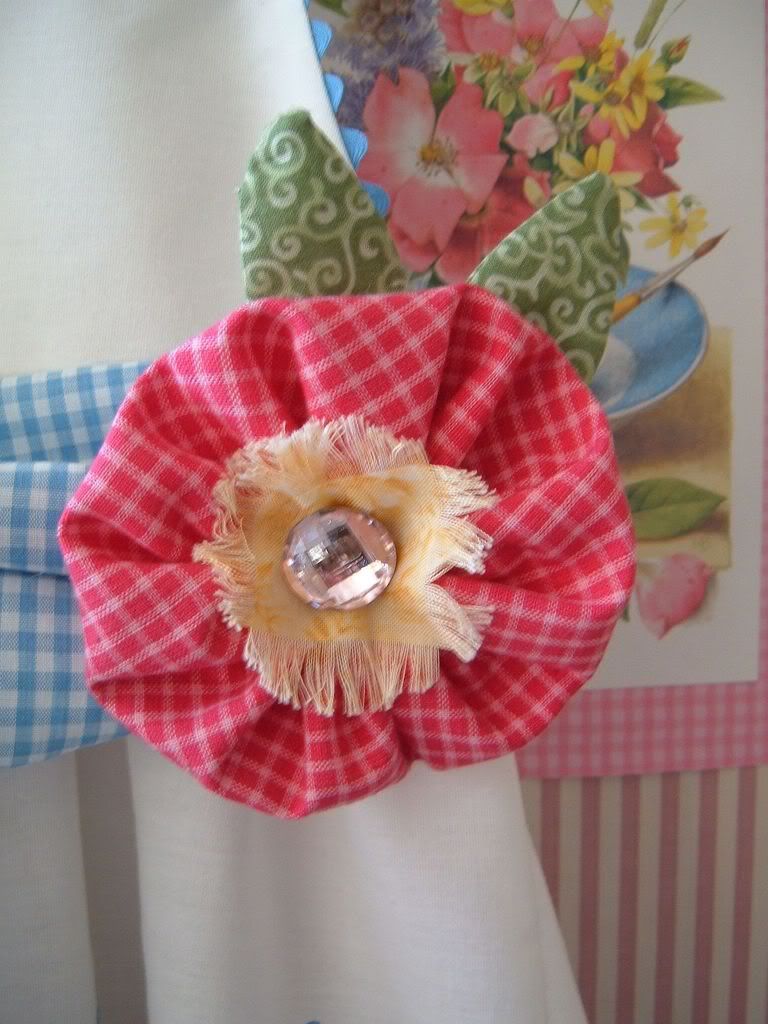
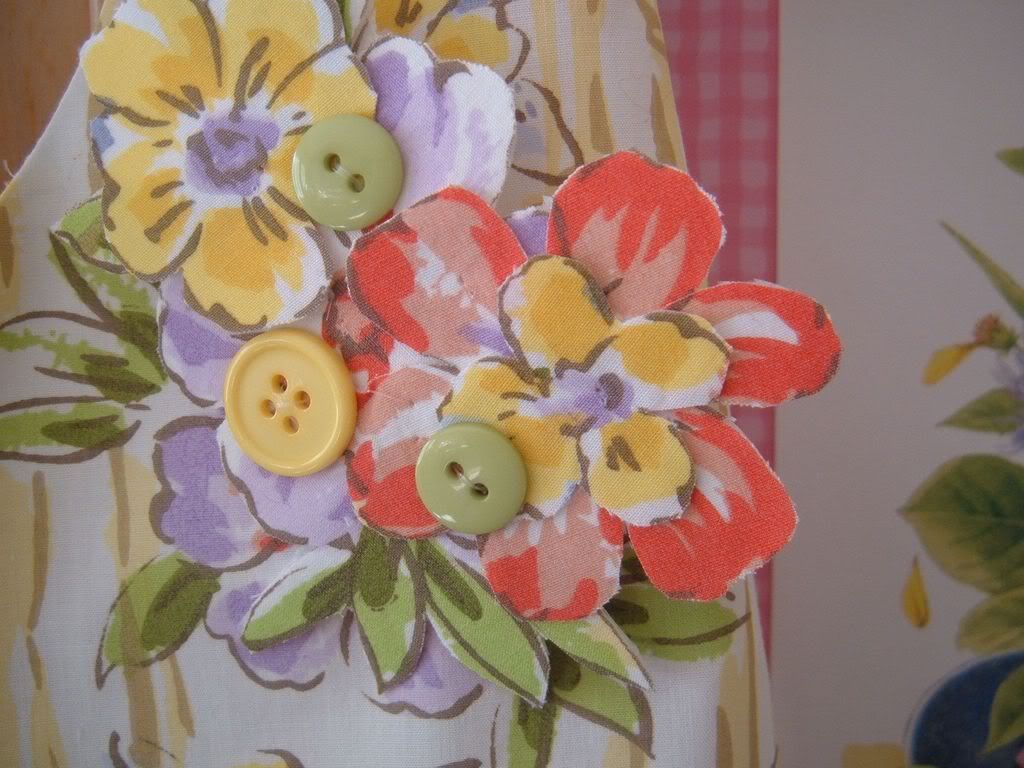
Idea #8 is...drumroll, please..."Lapel Brooches." I'm still working on my version of these and will update when I get them done. I need to mail off my gifts tomm. but I will continue with the Mother's Day Gifts You Can Make post series until Saturday. Here are a couple of brooches I've made in the past. And at the bottom, there are links to lots of tutorials.


Online Brooch Tutorials

Felted Brooch

Sparkly Brooch (this is a shamrock, but the shape could be changed to a flower)
Fabric Flower
Fabric Flower
Felt Brooch
Wise Craft Fabric Flowers
Necktie Flower Brooches
Felt and Crochet Brooch
Eyelet Lace Brooch
Raggy Flower Brooch
Beaded Heart Brooch
Kanzashi Floral Brooch

Monday, May 05, 2008

Mother's Day Gifts You Can Make - Idea Seven

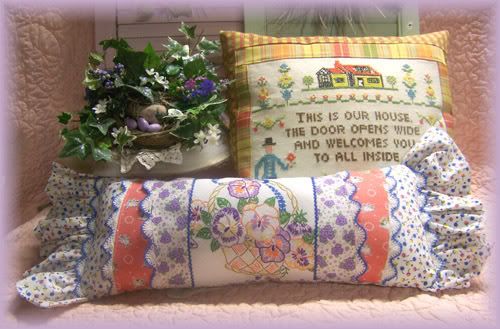
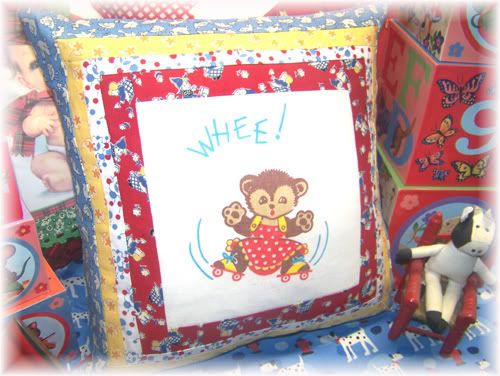
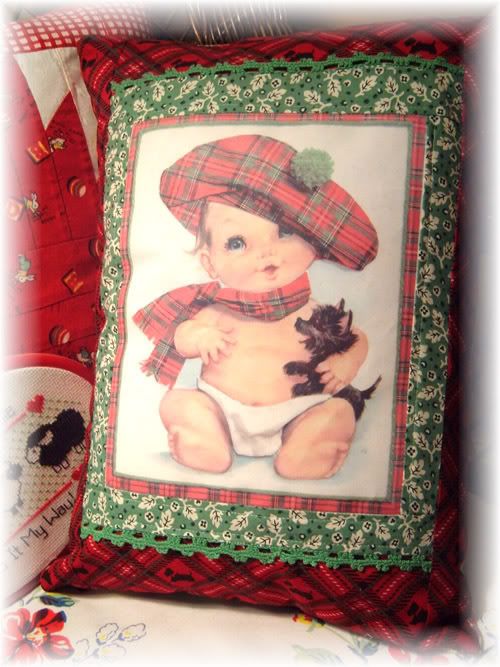
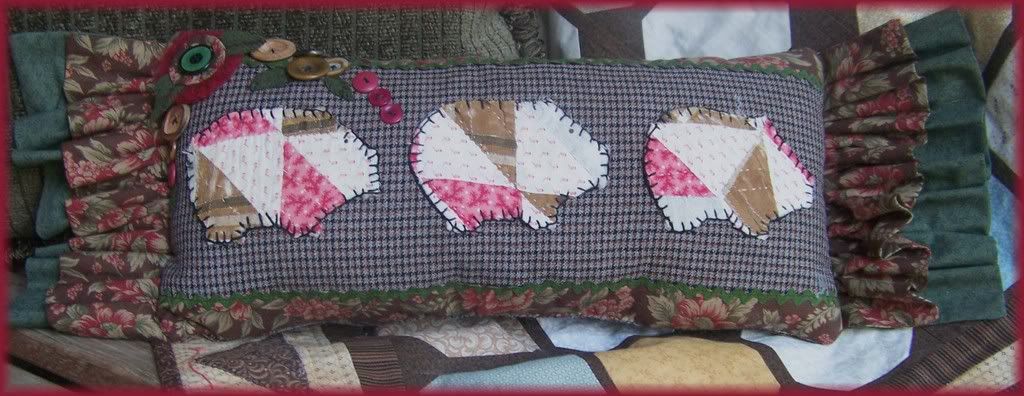
Day Seven in our series on Mother's Day Gifts You Can Make. To see all the posts on this subject click HERE. Today I'm offering beautiful decorative pillows as a gift idea for your mother. They are simple to sew. Do not require much fabric so you can really splurge on a beautiful textile. They can be made in a variety of styles, contemporary, victorian, country, primitive, southwestern, etc. Perhaps you could even sneak fabric remnants from her own decorating efforts out of her stash to create the perfectly matching decor offering. Here are some photos and links to get you going!

My Own Past Pillow Creations


LINKS TO TUTORIALS:
Log Cabin Quilt Pattern Pillow
Put a Zipper in Your Pillow Tutorial
Inspirational Quote Pillow
Reading Pillow Tutorial
Fancy Band Pillow Tutorial
Flange Pillow Tutorial

Tuck Pillow Tutorial

Button Back Pillow Tutorial

Ribbon Pillow Tutorial

Saturday, May 03, 2008

Mother's Day Gifts You Can Make - Idea Six

Memorabilia Portfolios


These sweet fabric portfolios are easy and inexpensive to construct. This first example did take a bit more time than most of my quick and easy projects. I finished it today. It took about 2 hours total. I hope to get a little faster with the next two I am working on. I am making one from a cream jacquard and lace and another from black and pink toiles. I will update this post when I complete them. They are a nice way to present any flat gifts you are planning on giving your mother. Stick in the children's handmade cards and drawings, your own Mother's Day card, a gift card to her favorite boutique, perhaps a pretty hankie, some photos, tickets to an upcoming event, seed packets and you're set! Or use it as a way to showcase family heirlooms and memories. Perhaps include her mother's wedding photo, copies of marriage and birth certificates, hand written memoirs, and other memorabilia. Here are the necessary how-to's.

Fabric Portfolio Tutorial


Step 1 - Cut 2 fabrics for the interior and exterior of the portfolio. They should be 12.5 by 18.5 inches. If you're using a thin fabric, you will need to interface them before construction. I used home decor fabrics and did not feel the need for interfacing. Cut a coordinating 5 x 18.5 inches for the interior pocket.


Step 2 - Finish the top edge of the pocket by turn down the raw edge 1/4 inch. Add a bit of lace, piping, rick-rack, etc if desired. You can add as many pockets as you desire!


Step 3 - Line up bottom edges of pockets to bottom edge of portfolio. Be sure the side are aligned as well. Pin and baste raw edges leaving pocket tops open.


Step 4 - Fold the raw side edges into the center of the portfolio. Mark the center of the portfolio with a pin. Mark the fold lines with a pin and then unfold. Use that as a guide to cut the top edge into three scallops. The middle curve will be longer than the two side curves. See photo. Scallop the inner and outer fabrics both the same.


Step 5 - Cut a piece of cardboard the same as the portfolio with scalloped top. Fold side edges to center and crease the vertical folds sharply. Cut on fold lines.


Step 6 - Place inner and outer portfolio right side together. Add piping, lace, trim, etc. to this seam if desired. Sew around the outside on all edges except bottom. Leave this open for turning. Turn and Press.


Step 7 - With washable marking pen or tailor's chalk, make a vertical line from the top's scallop points to the bottom of the portfolio. This is approximately four inches from the sides. Sew on this line turning raw edges at the bottom to the inside. This should result in sectioning the portfolio into two side pockets and one larger center pocket, each open at the bottom.


Step 8 - Slide in cardboard pieces, each into its corresponding pocket. Whipstitch bottom shut with invisibles stitches.


Step 9 - Fill the pockets with ephemera, cards, photos, gift card, seed packets, tickets, etc.


Step 10 - Tie a ribbon sash around the portfolio. You can glue this at the back center if desired or attach it with a few stitches. Tuck in a bit of millinery or glitz up with a vintage brooch if desired. Add a little gift tag.

Thursday, May 01, 2008

Mother's Day Gifts You Can Make - Idea Five


Is your Mom a girly-girl? Papercraft a bit of framed Victoriana! This piece of art was created using bits and pieces found in victoriana type books picked up over the years in thrift stores for the purpose of crafting. To see all the Mother's Day gift ideas in this post series, click HERE.Here are the how-to's...
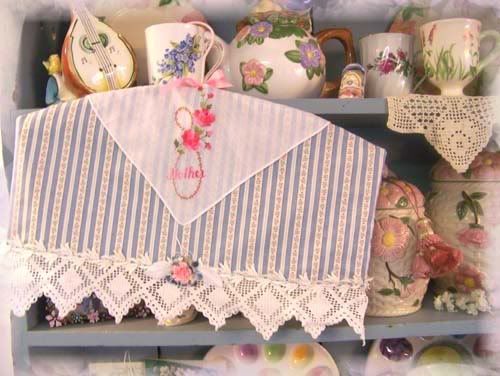
1) Prepare your Frame - I started with pink, of course! I spray-painted a metal filigree frame found in a...you guessed it...thrift store. These are readily available in a variety of materials and styles. If you're going Victorian, get as frilly as you can find.

2) Prepare your Background - Next, scrapbook paper was mounted atop the cardboard frame insert. I used a gentle mist of spray adhesive and then roll it with a rolling pin to prevent bubbles and wavy sections.

3) Prepare the Pop-Up Insert - For the base of the collaged art piece, I used a piece of mat board cut a few inches smaller than the frame. Using an exact knife, I gave a scalloped edge to the top. I then mounted a piece of pink striped paper and used a gold paint pen around the edges.

4) Add Your Design Elements - Now for the fun part. Using a variety of illustrations pulled from gift books, poetry books, Victorian books, gardening books and such, I built a collage. I cut out the various elements and then shuffled them around until I found the effect I wanted. It looks almost like one piece, but there are dozens of elements used. The center Victorian lady was mounted on about three layers of increasingly smaller papers. This piece was then mounted using foam dots to make it stand away from its background and provide a dimensional effect.

5) Guild the lily - Add sparkle and glitz by adding glitter and rhinestones to key elements. Don't forget the back of the frame. Cover it with a pretty paper or vintage sheet music as well. Add a pretty gift label, sign your artwork on the back along with a Mother's Day Greeting. Add a pretty French wired ribbon hanger.

Wednesday, April 30, 2008

Mother's Day Gifts You Can Make - Idea Four


Here's Idea #4 in our series for Mother's Day. Make your mother a beautiful heirloom gift box. These are fun to embellish. Pretty much anything goes! To see all the Mother's Day gift ideas in this post series, click HERE

Materials Needed:

box with removeable lid
decorative papers, sheet music, ephemera, wallpaper, etc.
trims, pearls, beads, buttons, rickrack, buttons, etc.
ornaments for box top such as dolls, teacups, silk birds, florals, etc.
glitter
glue
scissors

Step 1: Trace box bottom and lid top onto paper.
Step 2: Spray box with adhesive glue and adhere papers to top and bottom
Step 3: While glue is still active, wrap paper around box side overlapping ends. Trim off excess with scissors. Repeat with lid.
Step 4: Glue trim, pearls, ribbon, whatever onto box edges to hide paper joints.
Step 5: Arrange a decorative scene on box lid. I have used dolls, silk flowers, birds in nests, teacups, bottlebrush trees, paper cut-outs, etc. If desired, lightly mist with spray glue and sprinkle on glitter or faux snow.
Step 6: Add additional embellishments as desired.

Here are some past keepsake box creations. Some of them are seasonal, but could still give you ideas for Mother's Day.


Tuesday, April 29, 2008

Mother's Day Gifts You Can Make - Idea Three

Dress up your Mother's closet with a beautiful garment hanger and/or cover. In addition to showcasing a gorgeous fabric, you can incorporate vintage linens as well. There are two versions shown here, a hanger with garment shoulder shield or a victorian lace decorative hanger. To see all the Mother's Day gift ideas in this post series, click HERE.

Garment Shoulder Cover Hanger


Step 1 - Procure a sturdy hanger. I get vintage ones at thrift stores very inexpensively. As you can see in this photo, I found these for a quarter each.


Step 2 - Spray paint your hanger if desired to match your intended fabric selection.


Step 3 - Trace around the hanger to create a pattern. Extend slightly over the ends of the hanger and then continue down another 3-5 inches to make a cover long enough to cover the top of a garment to protect it from dust. Mark an opening for the hanger at the top center. Cut out the pattern allowing 1/4 inch for seam allowance. FRUGAL TIP: I use vinyl wallpaper rolls for drafting craft patterns. I pick them up for about a dollar a roll. They don't tear and it's a ton of paper for the money!


Step 4 - Pin pattern to chosen fabric and cut out 4 pieces, a front and back and a lining front and back.


Step 5 - If desired, cut a vintage hankie, tea towel or corner of an embroidered tablecloth to fit the top curve of the hanger. See photo. Pin to the upper edge of the hanger front. Sew front to back using 1/2 seam allowance, stopping at marking for center opening where the hanger hook will slide through. Repeat with lining.


Step 6 - Place hanger cover and hanger cover lining right sides together, aligning edges. If desired, add a trim or ruffle at this point.Sew around bottom leaving a few inches opening for turning to right side. You could add a ruffle or piping to this seam at this time, if desired.


Step 8 - Turn hanger to right side. Press neatly, Whipstitch turning opening shut. Embellish as desired. Insert hanger. Tie a ribbon or tag around neck if desired.

Here's the first one I finished. I'm still working on a blue and pink shabby chic style hanger that I will add to this post as soon as I finish it.


Victorian Lace Hanger


Step 1 - For this gift you will need a padded satin hanger, a wide piece of decorative lace and various pearls, buttons, sequins, beads, satin roses, etc. for embellishment. Cut a length of lace long enough to wrap around the hanger.

Step 2 - Attach lace to satin hanger with tiny whipstitches.

Step 3 - Cover join with beads, sequins, ribbon roses, pearls, buttons, etc.