Showing posts with label fabric modification. Show all posts

Tuesday, May 27, 2008

Reruns!

I didn't get my shirts done in order to share them with you today. Got sidelined by a new med and just didn't feel well enough to push through. So...ya'll are getting reruns today! I thought I'd share a former creation. This was made a couple of years ago for a customer when I was sewing children's designs. I used vintage and new fabrics and then tea-dyed them to blend in the new fabrics with the old. It's a great way to use up bits and pieces of vintage textiles. I also used some embroidered bits from old tea towels. The buttons were covered with scraps of vintage linens. You can see more about vintage textile covered buttons here.


If you're interested in tea-dyeing, here are some tutorials.

Tea Dyeing Tutorial


How To Tea Dye

Tea Dyed Fabrics

Tea Dyeing FAQ


Tea Dyeing and Aging Techniques

Monday, May 05, 2008

Discharge Dyeing Tutorial

This is a technique with which we experimented during our sewing lessons today. It's not for the mess-intolerant, but if you tolerated the PlayDough Stage with your toddlers, you can probably handle this. The girls had so much fun with this that they decided to forego project sewing time in order to continue experimenting. I was hard-pressed to get them to stop even for lunch!

Discharge Dyeing Tutorial


This technique involves removing existing color from a fabric using bleach. Materials needed include: dark fabric, bleach, vinegar, spray bottle, water, PVC pipe, leaves, ferns, plastic doilies, rubber bands, strings, strong thread, contact paper, rickrack, notebook paper reinforcements, stencils, bits of hardware, coins, etc. You will need to wear protective clothing and gloves.

Step 1 – Prepare your solutions. Line up three buckets and mix solutions as follows: Bucket 1: Bleach Solution (1 part bleach to 2 parts water). Bucket 2: Plain, clean water. Bucket 3: Vinegar Solution (1 part vinegar to 4 parts water). Mix 1 part bleach to 2 parts water in a spray bottle as well. Be sure all containers are clearly labeled.


Step 2 – Prepare your working surface. You will need to protect your working surface by laying down a plastic tarp or garbage bags. It's best to do this outside or somewhere with good ventilation.

Step 3 – Prepare your design. Decide how you will create your design. You can lay the fabric flat and arrange leaves, doilies, stencil, shapes cut from contact paper or other items on the surface. Or you can bundle the fabric with rubber bands as if you were tie-dyeing. Another interesting method is to stuff the fabric in a short length of PVC pipe. Simply look around your house for a variety of objects that might create interesting textures on fabric. Here are some things I gathered.


And here's how one of my students, Sarah, arranged objects for her first attempt.


Step 4 – Discharge dye. If your item is to be sprayed, spray the solution around your resist object. How much you spray depends on how much color you wish to remove. Remember that the effect will get more intense the longer the solution remains. If the item is to be dunked, set it into Bleach bucket and check on it every few minutes, removing it once it reached your desired outcome. You can also paint the solution on with a brush if desired, making brushed on designs.

Spraying Around a Resist


Using Large Chains As A Resist


Wrap and Dip Method


Step 5 – Neutralize the discharge solution. When you have your desired effect, soak your fabric in the Water bucket for a few minutes. Rinse, wring and then soak in the Vinegar bucket. Then rinse again in clear water. Launder as normal. Launder separately to be safe, just in case any discharge solution remains. Your fabric can then be used in your chosen project.


SAMPLES:

Our Samples Drying on the Line - Looks Like Hippy Laundry :)


Started As Plain Black Twill


Started as Black Velvet - Student used washer, twisted wire, rickrack and a owl flyswatter. :)


Started as Black velvet - Student used silk leaves


Denim - Ombre Dipped


Hot Pink Twill - I used a page of notebook reinforcement stickers as the resist
Bright Blue Linen - Wrapped with rubber bands and dipped
Brown Brushed Cotton - I used a stencil intended for making straight writing lines

Monday, April 21, 2008

Sewing Lessons Monday

It was the best of times. It was the worst of times.

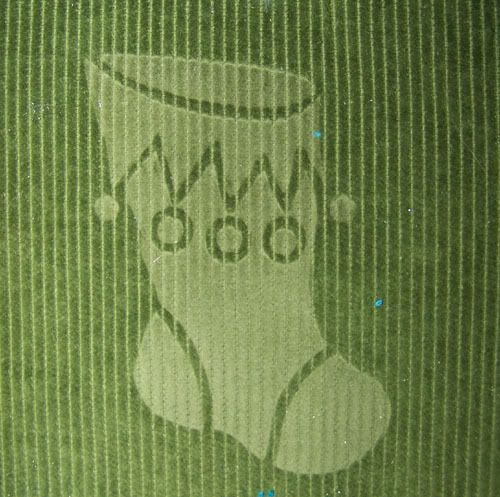
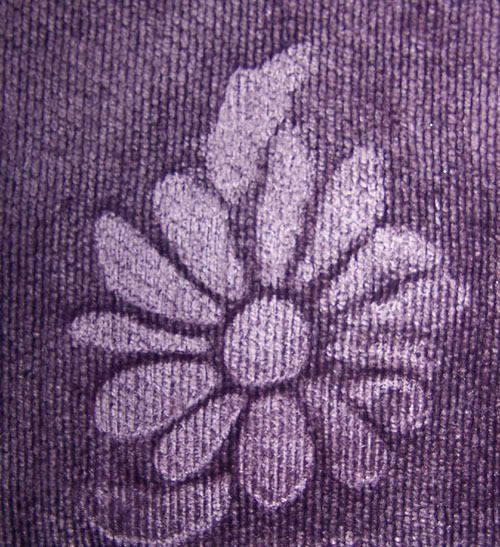
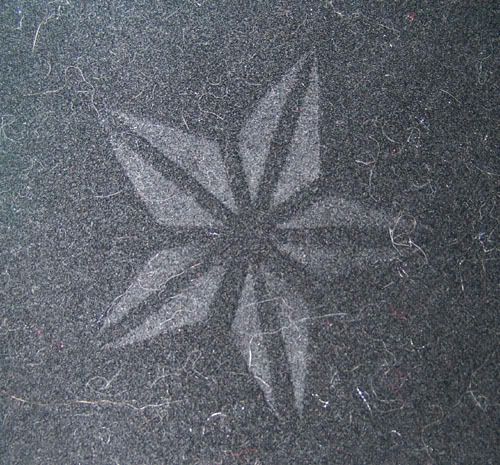
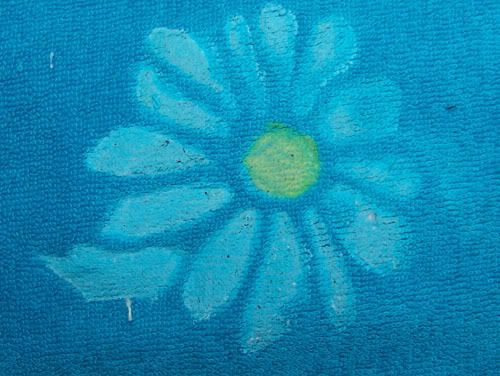
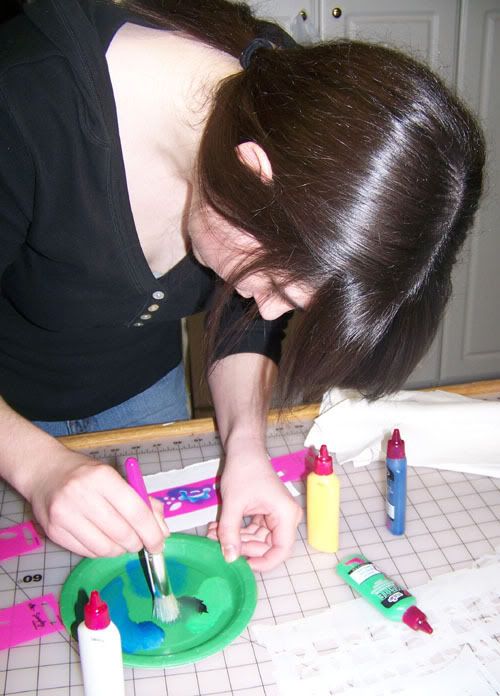
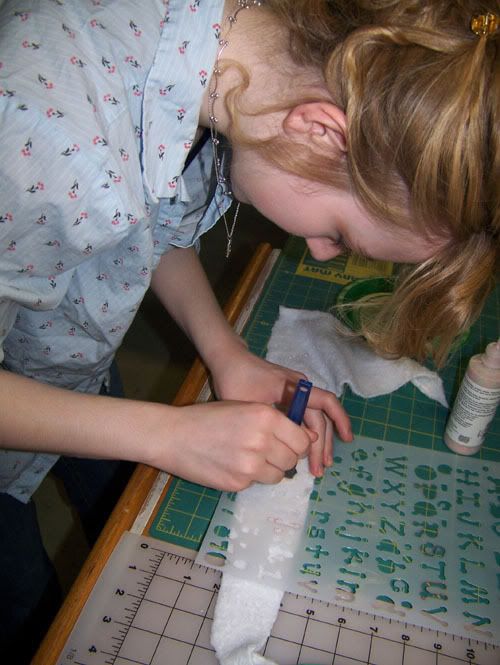
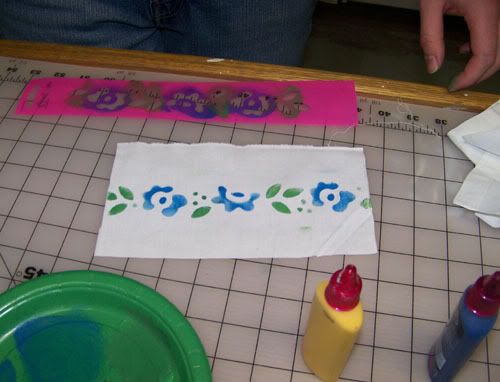
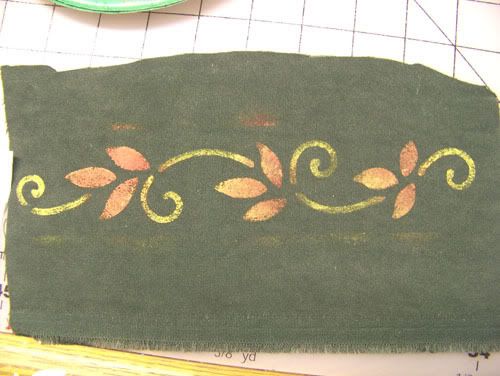
Just a little Dickens for you literary types. This best sums up today's sewing lesson. I started a new unit with Emily and Sarah. For the next 8 weeks or so we will be working on fabric modification techniques such as bleaching, dyeing, acid-etching, etc. Today we did heat-embossing and stenciling. I will post a tutorial in a few days. They are both fairly straight forward. I showed the girls my embossed samples (see photos below) and then demonstrated the technique. They were then turned loose to search for textured objects to use as resists and to raid my fabric stash for appropriate fabrics. They had a good time experimenting and came up with some rather interesting samples for their notebooks. Items used for resists included rubber stamps, cookie cooling racks, charms, lace, drapery hooks and even seashells. Then we moved on to stenciling with fabric paints. They were quite adventurous in their fabric choices. Emily discovered that stenciling on faux fur does not work well. *g* A finely woven cotton seemed to produce the best results. Sarah found that moleskin produced an interesting effect. After they secured satisfactory samples for their notebooks, we moved on to their independent project work.

Sarah read up on buttonholes from the Sewing Essentials book (Singer Reference Library), prepping for the final step of her vest. I think I'm going to call this the Marathon Vest as it's been an endeavor getting it finished. The buttonholes gave us fits. No fault of Sarah's. My machine's buttonhole mechanism has been really touchy lately. While the second leg of the buttonhole turns out fine, the first one either doesn't sew at all or is spotty. It was really, really, really, really frustrating. We made two out of five buttonholes and then had to call it quits. We're going to need some major sedatives before we tackle the last three. I will be spending this week trying to determine what can be done to get my buttonholer operative again. Emily, meanwhile, continued work on her fuzzy hoodie. She did the back side seams, the shoulder seams and the side seams. She quit a little early in order to revisit fabric stenciling.

Next week Sarah will finish the buttonholes on her vest (keep your fingers crossed!). Emily will install her zipper and attach the hood. And we will explore using bleach to modify fabrics. Here are some photos of our day together...

Fabric Embossing: Rubber Stamp Resist on Corduroy


Fabric Embossing: Rubber Stamp Resist on Rayon Velvet


Fabric Embossing: Rubber Stamp Resist on Black Wool


Fabric Embossing: Rubbert Stamp Resist w/Fabric Paint on French Terry


Sarah working on her Stenciling Sample


Emily working on her Stenciling Sample


Stenciling on White Cotton


Stenciling on Moss Green Moleskin