Showing posts with label fashion. Show all posts

Sunday, August 31, 2008

Labor Day Pattern Sales

Vogue Patterns were on sale for $3.99 this weekend (at JoAnn's) and McCalls for $1.99. Vogues rarely go on sale, so I picked up a few I've been eyeing. I browsed through McCall's to see about picking up a few bargains, but was uninspired. Their Fall line is pretty lackluster. Here's what I did get...

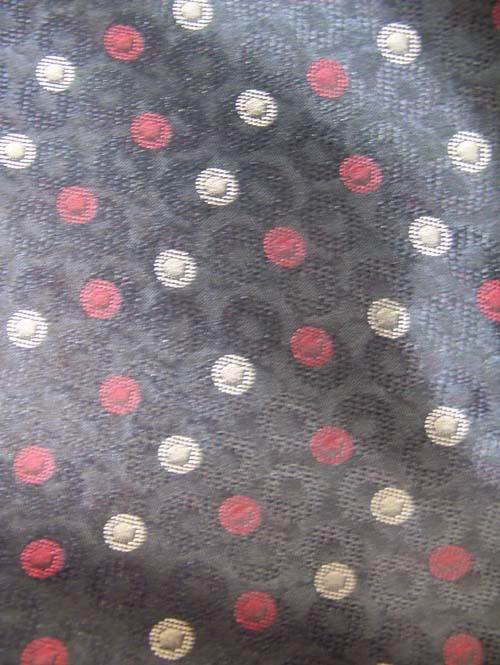
Vogue's Marci Tilton Oriental Art Jacket - I'll be making this from the chinese coin dot silk I bought in Portland recently.


Vogue 7854 - Not sure what fabric I'll use for this year. I have a couple of light linens or sanded rayons in mind, but I loved the design lines, especially the divided side front.


Vogue 8464 - Love the unusual reversed princess lines on this one and the funky collar. I'm thinking it would be fun to do the facing and collar in a contrasting print and then pipe the bodice lines with the same.


McCalls 5195 - I don't usually like these draped jackets, but I have a sweaterknit in a salt/pepper tweed that is perfect for this. Shorter length, of course. If I have enough fabric I would make the skirt in the same.


McCalls 5570 - I haven't bought a child's pattern in forever. I've always loved these cloud skirts. I have a brown ombre satin that I think this would be lovely in. I'm debating it as part of the Northwest Children's Fund Auction I posted about HERE.


McCalls 5131 - I like to make children's costumes and this is a pattern I've been wanting to do for a long time. A Civil War historical ensemble. I will do this from authentic reproduction Civil War prints.


Charity

Thursday, August 28, 2008

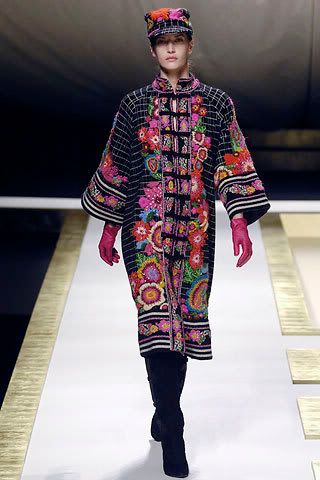
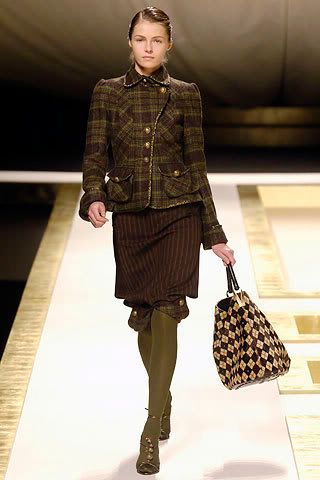
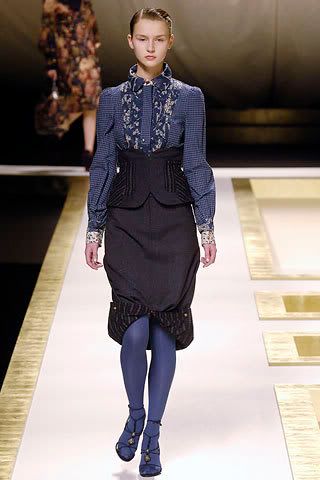
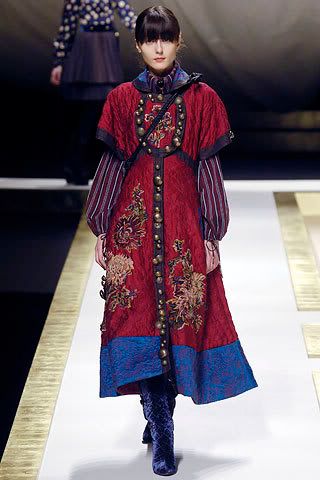
2008 Fall Fashion Trends

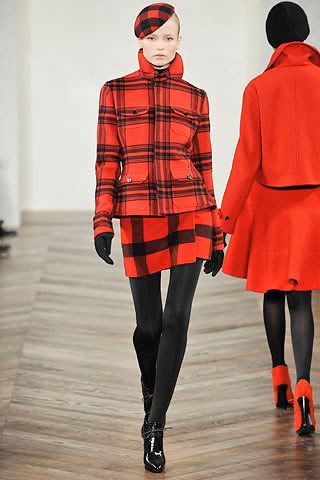
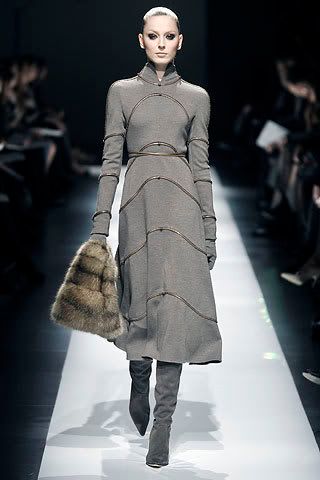
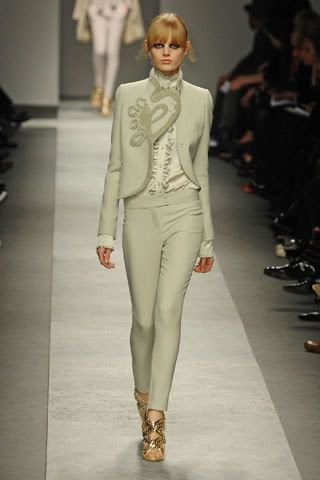
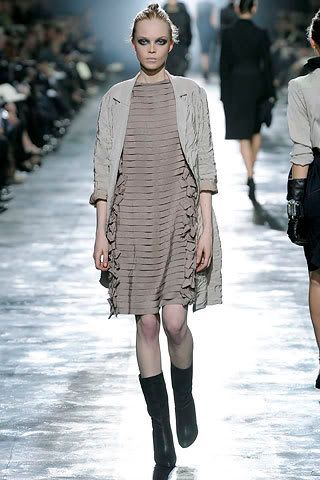
So what are you thinking about the Fall Fashion Trends so far? Fall has always been my favorite time of year, both in general and in the fashion realm. As usual, there are some things I love about the Fall Fashions and some I'll be passing by. Here are some of my favorite trends and runway shots.

TRENDS I'M LOVING

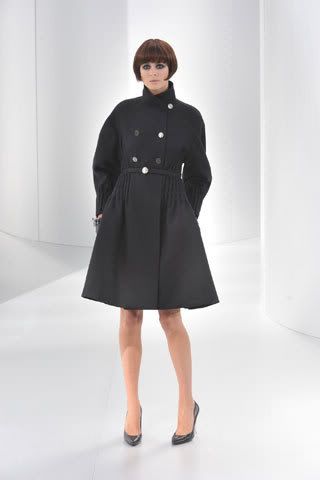
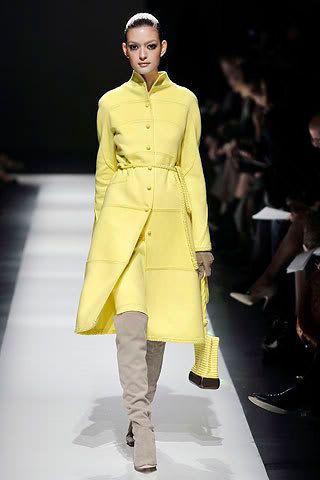
Coat Dresses - Have always loved coat dresses. So glad to see them in a comeback!


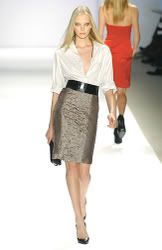
High Waisted Pencil Skirts - While my figure won't allow these, I love the look. Classic and feminine.


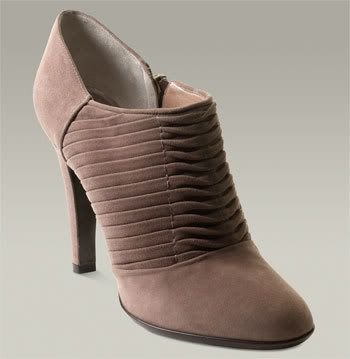
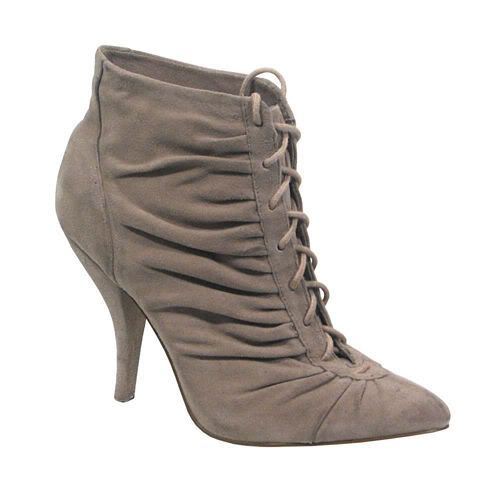
The Shoes - Oh my! The shoes this year are amazing. They seem to be the "statement" accessory of the season. I particularly love the suede boot in luscious colors.


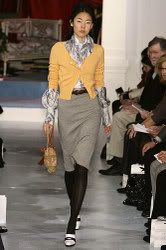
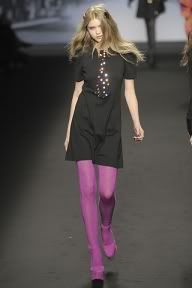
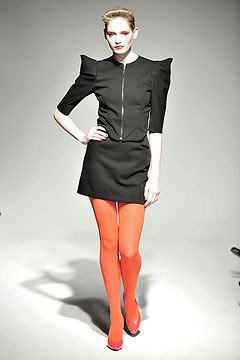
Colored Tights - I've always loved these. Lived in them in the 80s and am happy to see their return. My legs are one of my last remaining decent features.


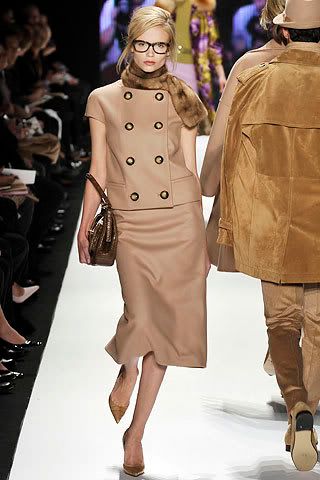
The New Conservatism - Many of Fall's fashions are modest and ladylike. Knee length dresses. Kitten Heels. Fur-trimmed wool coats. Think Lady Bird Johnson without the Frump Factor. Michael Kors has captured the best of this look. Love it!


Mixed Plaids - Nobody does it better than Ralph Lauren


Dressmaker Details - Lots of blind tucks, rosettes, pleats, pintucks, trims!


TRENDS I CAN DO WITHOUT

Peaked Shoulders - What is the point of those idiotic wings? You look like you could injure someone in a crowd.


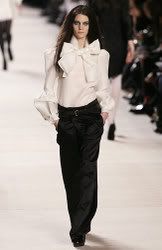
Bow Blouses - Not even Diana could pull this off? Why do we think we'd be able to?


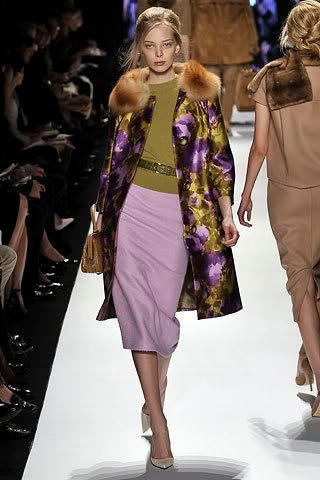
Purple - I know everyone is screaming the praise of these season's plethora of purple, but I'm just not a purple kind of gal. Lilac, maybe, in small doses, but not purple!

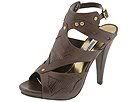
Gladiators - I know I said I loved this season's shoes, but the gladiator sandal is the exception. They remind me too much of the tire tread sandals I wore in the 70s.

Friday, July 25, 2008

Alphabet Adventures - "U is for Undecided"

The Letter U is going to involve a little audience participation, so find the comment box and get your trigger finger ready....

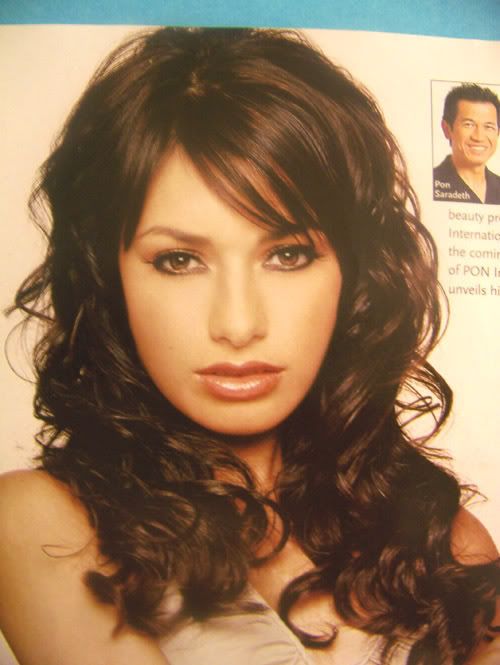
I am long overdue for a hairstyle change. I have always worn my hair long, full, layered with wave or curl. My husband likes it this way so I can't go to short. My face is rather full so too straight and flat on top doesn't look good on me either. I need a little volume on top and around the eyes. Okay...with those parameters in place, what do you think?

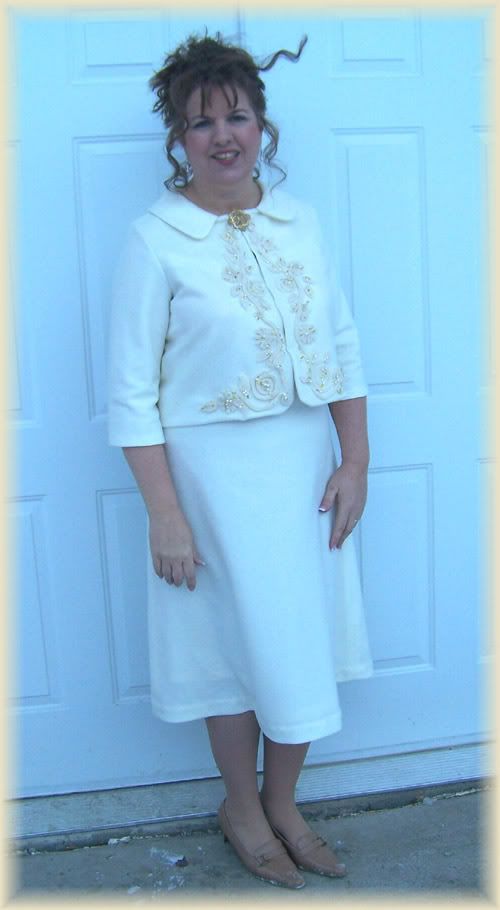
This is me now. My hair is up so you can't really see what it normally looks like. And I had curled it with those crimping irons. It's not normally kinky like that.


And here are the candidates. Please keep in mind that I look NOTHING like any of these gorgeous women and that no hair cut on earth is going to transform me to model material. I've accepted that and am prepared to deal.

Hair Style #1 - I love this, but think it's probably too close to what I have now and won't give me the change I'm looking for. DH, however, loves this look and he has to look at me more than I do...

BTW, that's not her before picture there in the corner. If I thought this haircut had this kind of transforming power, this post would be non-existent.


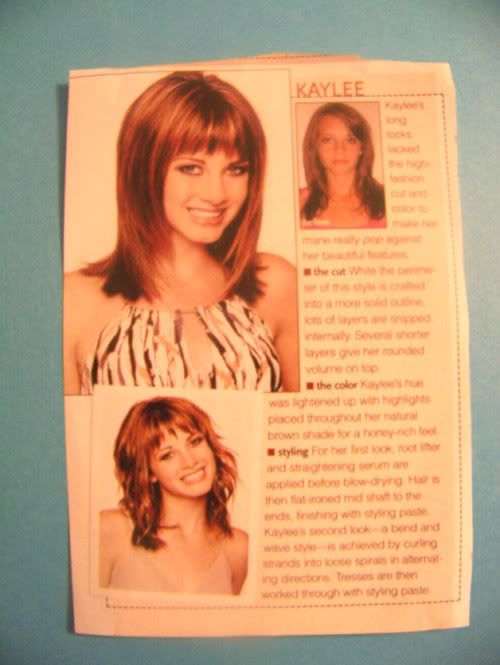
Hair Style #2 - I like the versatility on this one. The straight or curly. I also like the fun bangs. My concern is that it's too flat on top. And dh's input???..."It looks like she's wearing a helmet." Sigh.


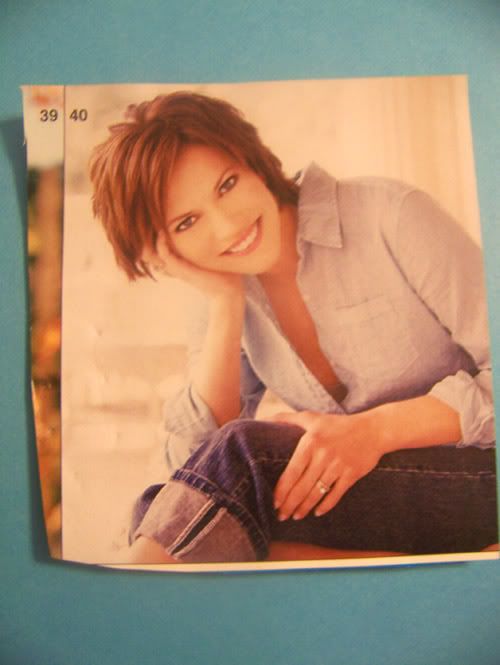
Hairstyle #3 - Now I LOVE this one. If I had a lot of courage, this is what I'd go for. I know my hair type would work well with this one. And it's just so darn "free and easy" looking. However, I'm a little afraid of that much change. I haven't had my hair above my shoulders in about 20 years! And I know DH won't be crazy about it.


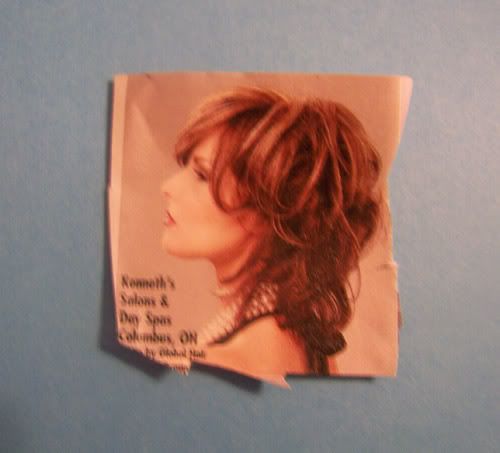
Hairstyle #4 - This one is probably the most reasonable choice. It's still a little long, but it still offers a big change from what I have now. My husband doesn't mind it. It has the volume that I need around the eyes and on top. So what's the problem? For some reason it screams "Joan Collins" to me. Maybe it's the pearls. Maybe it's the lipstick. But it scares me a little. Will I look like a 60 year old woman who has never outgrown her (debatable) glory days? It just looks a little "mature" for me. On the other hand...I AM 48yo and way past the Morgan Fairchild haircut days.

Help me, ladies. There's no better way to make such a personal and important decision than to relegate it to people who have never met you and whom you barely know....


Leave a comment, please. I need to make up my mind by next Wednesday.

Charity

Monday, May 12, 2008

Modest Chic

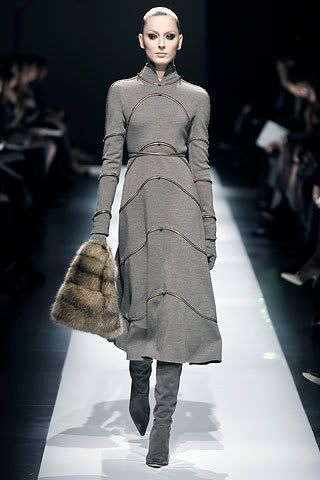
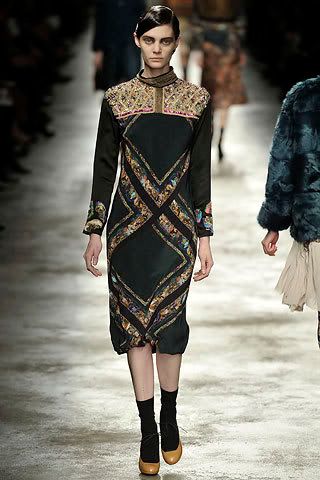
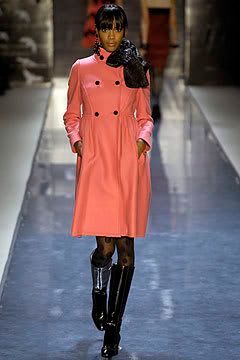
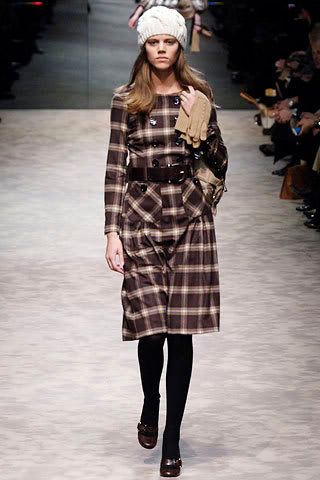
I've been reading a discussion online about modesty. I'm a big believer in modesty. However, I'm also a lover of fashion. Most of the discussions I read about modesty pit these two against each other as if they could not possibly peacefully coincide. Unfortunately, most of what I have seen forwarded by the "modesty camp" as acceptably modest is appallingly frumpy. I think this is one reason why those who love fashion have been reluctant to embrace the concept of modesty. They automatically picture baggy sack dresses and assume that membership in a cult must be next on the horizon. Not so... I decided to take the strictest definition of modesty that has been given to me (high necks, long sleeves, at the knee hems, not form-fitting) and show some fashionable variations that are most decidedly NOT Frump Girl Material.

These are by Kenzo, one of my favorite designers.


And some others from my "Sew Someday" File


I think there are plenty of options for the woman who desires to dress modestly and still look chic, have a strong sense of personal style and express her love for fashion. Sewing your own clothes gives even greater freedom to tweak a pattern to meet a personal requirement of modesty - in all its wide and varied definitions.

Charity

Saturday, March 08, 2008

Spring Loves

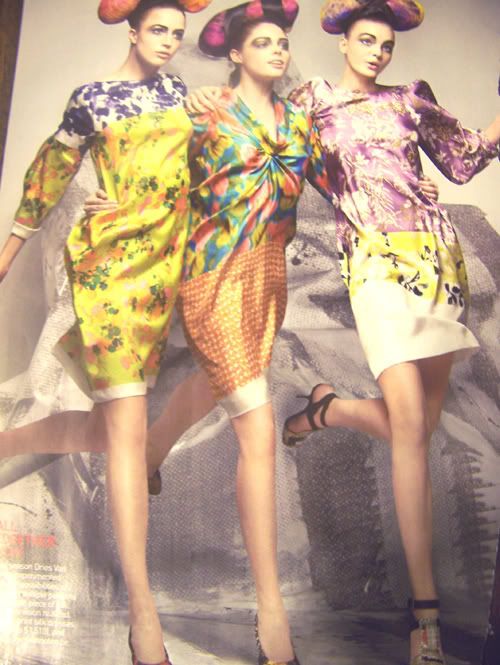
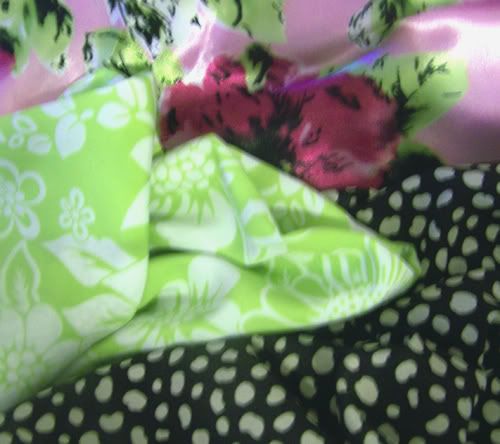
I'm not usually a follower of Spring Fashions. I'm much more of a Fall Fashions person. I love tailored garments, wools, coats, jackets, tweeds, sweaters and the Fall neutral palettes. However, I went to Anchorage (about 1 hour away) today to spend some time with my eldest. And when with Caleb one will sooner or later end up in a bookstore. So it was that I was browsing the magazine rack at Barnes and Nobles and saw the HUMONGOUS Spring Vogue Fashion edition. It must have been 3 inches thick. I thought it would cost a fortune, but it was only $4.99 so I bought it on a whim. And yes...most of the fashions therein can't hold a candle to what will follow for Fall. BUT, BUT, BUT...there was the most gorgeous multi-page spread on floral and hand-painted silk dresses. And this pic below particularly caught my eye as I LOVE mixed prints. I immediately tore it from the magazine and ran downstairs to shop my stash and my patterns. I think I'm going to be able to get a fairly nice RTW knock-off. I will be using bits and pieces from three different patterns. And I think I've settled on three prints: a black irregular polka dot, a lime and white floral and a purple and fuschia floral. But I'm going to force myself to finish my pinstripe shirt and my baby doll dress before I can start it. I'm hoping to be able to start first thing on Monday.

Dries Van Noten Printed Silk Dresses


And these are the fabrics from my stash I'm considering. Sorry about the poor pic. It's still dark and it was difficult to get any lighting for the photo.


PS - And no...I have no current plans to adopt the matching hairstyle.

Friday, March 07, 2008

All Those Not In Favor Signify By Saying..."Weird, Mom."

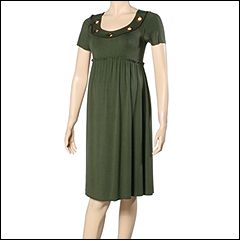
I've got the dress below almost finished. The sleeves are set in and the upper edge gathered. The neckband is ready to attach (I ditched the quilting idea. Looked homemade-ish). So I slip the dress on to get an idea of fit before putting on the neckband. I'm standing in front of the mirror, still totally waffling about this style on me. My 17yo son walks by, pauses in front of the mirror with me and says "That looks weird, Mom."

Gee, thanks... :( :(

Actually, once I put on black nylons, black heels and accessories, it looked kind of cute. But it only looks good if it's fairly short. Shorter than I normally wear my skirts. If it goes knee length or longer, it starts to look like a nightgown! And while I like the lantern sleeves, on the already baggy, full dress, they're a bit much in the full-length variation. I'm going to do some horizontal tucks at the hem and will do the same on the sleeves to take out some of the fullness.

Jury's still out on this one. I'm going to finish it and then I'm going to have to make up my mind. Because it's rather trendy, it's not the kind of thing you can wear while still waffling between "Do I look cute?" or "Do I look silly?" I'm going to have settle it in my mind so I can wear the thing with a confident attitude.

Of course, that's hard to do when you've got a Tim Gunn wanna-be making snide remarks during your fitting sessions.

Charity

Wednesday, March 05, 2008

Tutorial on Using Eyelets as an Embellishment

A Tutorial: Setting Eyelets


The Confession: In the name of honesty, I must first tell you that my own method for setting the eyelets in the tee below was...(drumroll, please)...having my DH do it. Seriously, I was that sure I'd screw it up. As much as I love sewing, I'm a bit of a klutz at fine muscle tasks. And I'm not enough of a perfectionist to get such things right. Dh on the other hand is one of those rare people who does all things well. He can do anything with his hands. So I asked him to set my eyelets for me and he was happy to do it. But can I get credit for taking pics and notes and sharing them with you?

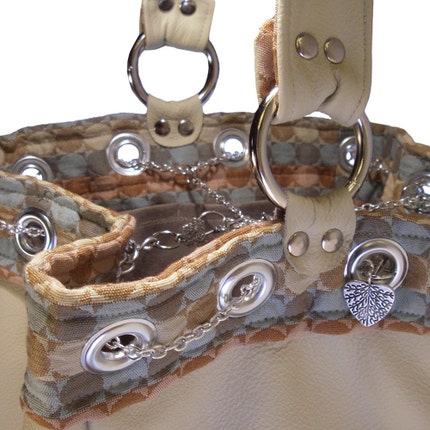
Step One - First, you must make your design decisions. Where will you place your eyelets? How many? Spaced how far apart? What size? Will they stand alone or be combined with a bit of fabric, cord or chain woven through the holes? Most of effective uses of eyelets that I've seen place them along an edge. A neckline. The top of a bag. Placed horizontally along a front closure. Keep in mind that sometimes they might feel abrasive against the skin so you may not want to place them somewhere that you might lean against them. For instance, when I embellished the tee below, I only did the front of the neckline and left the back blank.

EYELET APPLICATION KIT


Step Two - Mark your placement. Shuffle your eyelets around until you have them in the desired positions. Then, with a marking pen, trace around the INSIDE of the eyelet. It's important to get a clear line. I found that my usual fabric marking pencils did not leave a fine enough line. So I used a regular ball point pen. The circles were eventually covered by the eyelets so this does not leave a mark where it will show. (SEE PHOTO)


Step Three - Decide if you need to interface under the application area or not. On bulky fabrics this may not be necessary. Otherwise, it is advised to interface the area underneath the eyelets. If the fabric is prone to excessive raveling, it might also be helpful to apply a little liquid fabric sealant to the raw edges. (SEE PHOTO)


Step Four - Cut a hole as marked in Step One. This is really the most critical step. If you cut the hole too big, a raw edge might slip outside the eyelet ring and show. If it's excessively big, the eyelet will simply fall out. If the hole is too small, the eyelet will have to push the excess fabric aside and this will result in a bubble or "stretched out" bit of fabric outside the ring. The fabric will not lay flat around the eyelet. You want the hole to be just big enough for the shaft of the eyelet to pass through. (SEE PHOTO)


Step Five - Using the tool provided in the Eyelet application kit and following the manufacturer's directions, apply eyelet. Basically this means pushing the eyelet piece with the shaft up through the hole, pushing from the right side of the hole through to the wrong side of the fabric. On the right side of the garment, you will put the hammer plate (from the eyelet application kit) up against the eyelet. (SEE PHOTO)


Next, slip on the second part of the eyelet, over the eyelet shaft. (SEE PHOTO)


Slip in the post part of the tool (from the application kit) so that the smaller end slips into the eyelet and the ringed part of the tool sandwiches the eyelet. The long end should point up towards you. With a hammer, give a couple of raps. You don't want to hit so hard as to bend the eyelet, but if you don't hit hard enough the eyelet pieces won't snap together properly. (SEE PHOTO)


FINISHED EYELET


Design Inspiration Photos