My company departed yesterday. My parents came to visit for 10 days. They had not been here for about 1.5 years so we had lots of catching up to do. We had a nice visit after a bit of a rough start. Dad ended up in ER with some nasty bug he must have picked up on the flight here. But after 3 bags of IV hydration and a day or two of rest, he perked up enough to get in some golf and even some sand-dune buggying! Mom and I stayed home during these excursions and did paper-crafting, sewing and watched Jane Austen movies. And so I have some sewing to share with you...
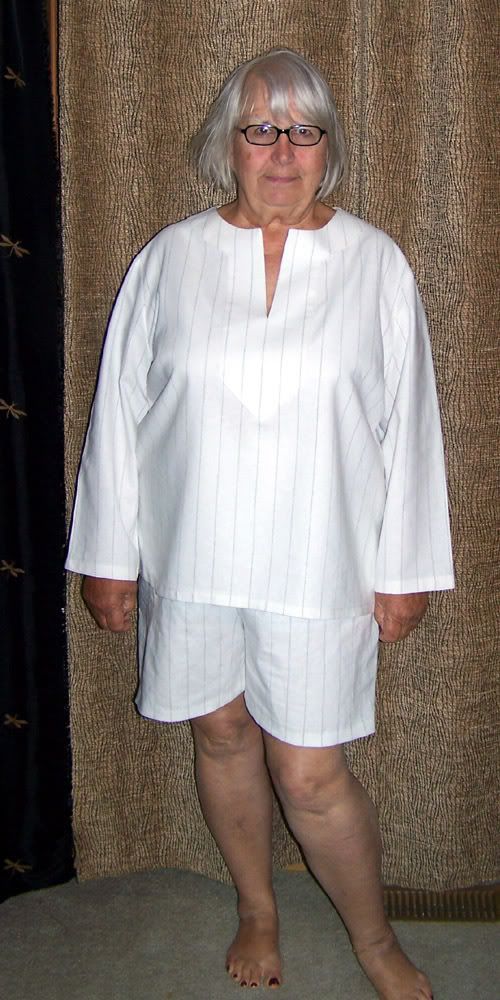
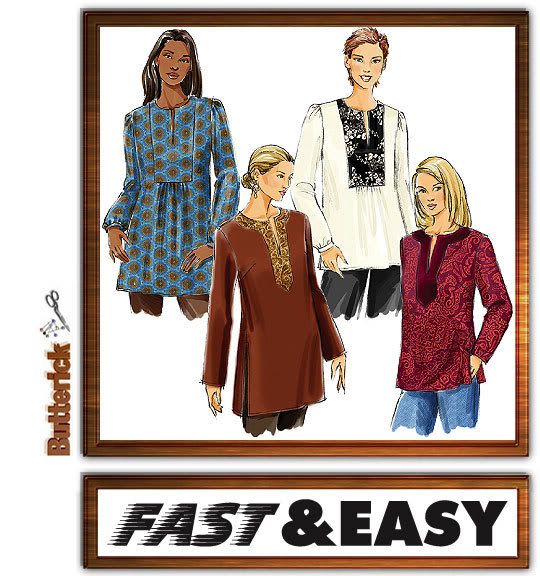
Mom had recently read some article that listed all the necessary items one must have in one's closet. And being the fashion maven (notice I was careful not to say slave, Mom) that she is, she was determined to add a missing element...the yoked tunic. She was insistent that we were not going to sew during her visit. She was concerned about me exerting myself after so recently being ill. What she doesn't understand is that sewing is restorative for those of us who love our textiles, right?! So I picked up Butterick 4856.
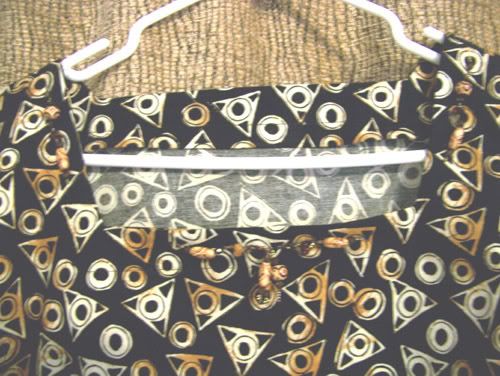
From the envelope's cover and technical drawing on the back, the design appears to have a yoke that is applied like a reverse facing, so that the yoke band sits
atop the tunic front's neckline. However, when I pulled out the instructions, the directions made absolutely no sense to me. The neckline yoke was to be applied like a set-in band and the facing wrapped around to the
back. And there was no provision for tacking down this facing. So not only was there no attractive yoke band on the front, but the front facing would flop around on the inside. Even more unappealing, the front band sewed in at the shoulder line instead of continuing around the back of the neckline. This was unacceptable to us. We ended up applying the facing backwards (according to the pattern instructions) so that it wrapped around to the
front and was then top-stitched in place. We also drafted a back neck facing piece so that the yoke band is continuous.
We had enlarged the first tunic after taking measurements and comparing them to the pattern piece. We also did a careful paper fitting. Mom wanted the tunic to fit breezy and somewhat oversized. We did the first tunic in a pinstriped linen, black on white. We had enough fabric left over to create matching shorts. Mom was pleased with the tunic and our alterations to the design. However, we decided to not do the enlargements on our second version of the tunic. The second tunic was done in a brown faux linen, 100% polyester (looked elegant but nasty to sew, would not hold a crisp edge press). It was longer in length. Because it was dressier, she wanted a bit more tailored fit. I forgot to take pics of the second tunic, but you can see the original version below. We had enough left of the brown faux-linen for her to make capris as well. Total cost of the FOUR pieces: approx. $15.00! (50% off JoAnn's red tag clearance on the linen and 60% off the polyester). Total time with the two of us working together: Approx. 12 hours